
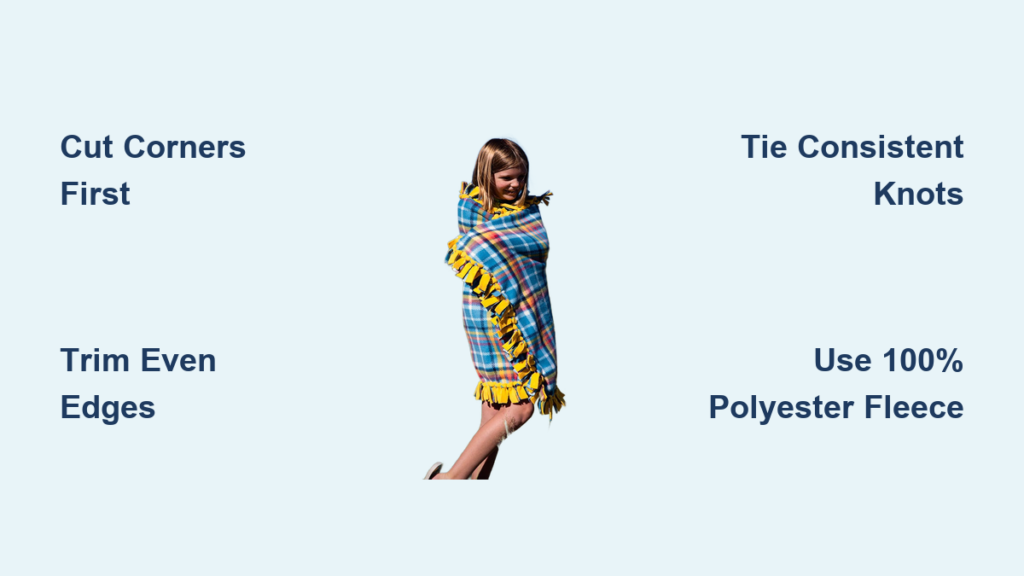
You don’t need a sewing machine, special skills, or hours of free time to make a cozy, handmade blanket. A fleece tie blanket is the perfect no-sew project that delivers soft, durable results in just a few hours. Whether you’re crafting a gift, supporting a charity, or bonding with kids, this simple technique uses two layers of fleece tied together at the edges to create a warm, frayed-free throw anyone can make.
With just scissors, a ruler, and two pieces of fabric, you’ll transform colorful fleece into a personalized blanket that lasts for years. In this guide, you’ll learn exactly how to cut, knot, and finish a professional-looking tie blanket, plus pro tips for avoiding common mistakes, choosing the best fabric, and speeding up the process.
Gather and Prepare Your Fleece Fabric
Trim and Align the Fabric Evenly
Start with two identical pieces of 100% polyester polar fleece, cut to your desired size. Common dimensions include 30″×40″ for baby blankets, 40″×50″ for child-sized throws, and 54″×72″ for adult throws. Lay both pieces flat on a hard surface like a table or floor to prevent shifting during cutting.
Remove the selvage edges, which are the tightly woven or dotted borders along the length of the fabric roll. These edges can curl and cause misalignment. Use sharp fabric scissors or a rotary cutter to trim all four sides so both layers form clean, straight rectangles.
Layer Right Sides Out
Place one piece on the table with the nubbier, more vibrant side facing up. This is the right side. Place the second piece directly on top, right side up as well, so both outer surfaces are visible and the wrong sides touch each other.
Smooth out any wrinkles and ensure all edges are perfectly aligned. Secure the layers with pins, clips, or small weights if needed, especially if working on a drafty surface. Do not stretch the fabric, as fleece’s slight elasticity can distort the shape during cutting.
Pro Tip: If using solid-colored fleece, check that both pieces are from the same dye lot to avoid subtle color differences.
Cut Corner Squares to Prevent Bulky Knots

Remove 5″ or 7″ Squares from Each Corner
Before cutting fringe, eliminate excess fabric at each corner to prevent bulky knots that won’t lie flat. Use a ruler and rotary cutter or sharp scissors to cut a 5″×5″ square from each corner for child-sized blankets, or 7″×7″ for larger throws.
Cut through both layers at once to maintain precision. Make straight, perpendicular cuts so the remaining edges form a clean L shape. This allows the fringe strips to lie flat and tie neatly around the corner.
Why It Matters: Skipping this step leads to thick, awkward knots that can snag during use or washing.
Cut Fringe Strips for Tying
Mark 1″-Wide Strips at 5″–7″ Deep
Along the remaining edges, cut 1-inch-wide strips spaced 1 inch apart, cutting from the outer edge inward to the inner edge of the removed square. This creates two matching fringe layers ready for tying.
To keep spacing consistent, use masking tape to mark a guide line 5″ or 7″ from the edge. Create a cardboard template with 1″ gaps every 5″ to use as a stencil. Use a clear acrylic quilting ruler and rotary cutter for fast, straight cuts.
Cut through both layers together to ensure perfect alignment. Work slowly along curves or patterned fabric where visual tracking is harder.
Visual Cue: On a 60″×72″ blanket, expect about 230 to 260 fringe pairs after corners are removed.
Avoid Common Cutting Mistakes
- Uneven spacing: Use a template or ruler to maintain 1″ gaps
- Jagged edges: Dull scissors drag fleece; sharpen or replace blades
- Shifting layers: Pin or weight fabric before cutting
- Wrong depth: Match fringe depth to corner cut size
Pro Tip: A rotary cutter plus self-healing mat plus ruler system dramatically improves speed and accuracy, especially for large blankets.
Tie Secure Knots Around the Edges
Choose a Knot Style and Stay Consistent
Now comes the satisfying part. Work around the blanket in one direction, either clockwise or counterclockwise, to avoid missing strips. Take one strip from the top layer and one from the bottom layer directly beneath it, then tie them together using one of these secure methods.
Use the Balloon Knot for Extra Security
Also known as a double overhand knot, this method mimics how balloons are tied and holds best for kids’ blankets or heavy use. Hold both strips side by side, fold them in half to form a loop, push the loose ends through the loop, and pull tight while sliding the knot flush to the edge.
Opt for the Square Knot for a Flat Finish
Ideal for a cleaner, less bulky edge. Cross the two strips in an X shape with left over right, pull the left end under and through, then reverse with right over left, and pull both ends tight. This reef knot lies flat and resists slipping when tied correctly.
Try the Finger-Wrap Method for Uniformity
This technique ensures consistent tension. Place both strips over your index finger, wrap them once around, pull one end over the top and through the loop, slide off your finger, and tighten.
Key Rule: Whatever knot you choose, use it consistently all the way around for a polished look.
Maintain Even Tension and Check for Gaps
Pull knots snug but not too tight. Over-tightening distorts the fabric and creates an uneven edge. Tie in groups of 10 to track progress and avoid skipped pairs. Flip the blanket occasionally to inspect both sides.
If using contrasting fabrics, consider alternating tied pairs to create a checkerboard edge effect. Take breaks, as tying 200 plus knots can strain your fingers. Make it social by inviting kids or friends to help with the tying stage.
Customize Your Blanket Colors and Patterns

Mix Colors and Patterns Creatively
The beauty of a tie blanket lies in its customization. Pair solid plus pattern, such as black with red plaid. Try complementary colors like navy and teal or burgundy and gold. Choose themed prints like unicorns, superheroes, or holiday motifs. Double-sided fleece maximizes visual impact on both sides.
Avoid clashing designs by ensuring both fabrics share at least one common color. This creates visual harmony rather than competing elements.
Try Edge Variations and Embellishments
- Braided edge: Use groups of three 8-inch-long strips braided together instead of tying
- Scalloped corners: Cut curved notches instead of squares for a decorative look
- Varied fringe lengths: Alternate 4″, 5″, and 6″ strips for texture
After tying, add fabric paint for names, dates, or designs. Apply iron-on patches or embroidery at corners. Attach ribbon bows or fabric labels for a gift-ready touch.
Note: Apply embellishments after assembly to avoid interference during cutting and tying.
Wash and Care for Your Fleece Blanket
Machine Wash Cold and Dry Low
Fleece tie blankets are machine washable and durable, but proper care matters. Wash in cold water on a gentle cycle using minimal detergent. Excess detergent leaves residue that reduces softness.
Never use bleach or fabric softener. Avoid washing with towels or denim, as these lint producers can cling to the fleece fibers.
Dry Without Heat Damage
Tumble dry on low heat or air dry. High heat causes pilling and fiber damage that ruins the soft texture. Remove promptly from the dryer to reduce static.
Good News: Fleece does not shrink, so no pre-washing is needed before cutting.
Fix Common Fleece Tie Blanket Problems
Solve Uneven Spacing and Skipped Fringe
| Problem | Solution |
|---|---|
| Uneven spacing | Use a paper template or ruler guide |
| Missed fringe pairs | Tie in sets of 10 and double-check each side |
| Loose knots | Use balloon or square knot and pull tight |
| Distorted edges | Avoid over-tightening and maintain even tension |
| Bulk at corners | Always cut 5″ to 7″ squares before fringe |
Prevent Pilling and Fuzz
Do not dry on high heat. Wash separately or with similar synthetics. Use a fabric shaver occasionally to remove pills that form over time.
Pro Tip: Store unfinished blankets flat or rolled. Tight folding can crease the fabric permanently.
Save Time and Money on Your Project
Cut Material Costs in Half
Fleece costs $10 to $15 per yard at 54-inch width. A 2-yard throw uses 4 yards total, bringing cost to $20 to $30 per blanket. Watch for BOGO 50% off or buy-one-get-one-free sales at JoAnn Fabrics, Hobby Lobby, or Walmart to cut costs in half. Consider recycled polyester fleece for eco-friendly options.
Speed Up the Process
- Cutting: Use a rotary cutter plus ruler plus mat
- Measuring: Pre-tape depth lines with masking tape
- Tying: Enlist help, as this is great for group crafting
- Planning: Use pre-cut templates or pre-marked kits
Time breakdown includes 10 to 15 minutes for prep, 5 to 10 minutes for corners, 20 to 40 minutes for fringe, and 45 to 90 minutes for tying. Total ranges from 1.5 to 3 hours, with beginners taking longer and experienced crafters finishing in under 2 hours.
Best Uses for Fleece Tie Blankets
Ideal for Gifts and Charity
Fleece tie blankets are highly valued as baby shower gifts, teacher or holiday presents, hospital donations for NICUs and cancer centers, shelter care packages, and scout or classroom projects. Their handmade touch creates emotional connections, and many kids adopt them as comfort blankets.
Perfect for All Skill Levels
| User | Benefit |
|---|---|
| Beginners | No sewing required and fast results |
| Kids 8 and up | Safe tying activity with supervision |
| Seniors | Low strain and large motor skills only |
| Therapists | Calming, repetitive motion aids focus |
| DIYers | Fully customizable and rewarding |
Tie Blanket vs Braided Edge: Which to Choose
Choose Based on Skill and Time
Tie blankets rate as easy difficulty and take 1 to 3 hours. Braided edge blankets are intermediate difficulty and take 3 to 5 hours. Both use the same basic tools, but the braided finish requires longer fringe of 6 to 8 inches and more precision.
Stick with tying for your first project. The knots create a cozy, casual look that hides minor imperfections. Braided edges offer a sleeker finish for crafters seeking refinement.
Final Thoughts on Making a Fleece Tie Blanket
A fleece tie blanket is more than a craft. It is a gesture of warmth, care, and creativity. With the right tools, a little patience, and this step-by-step guide, you will make a soft, long-lasting blanket that brings comfort for years. The key points to remember are using 100% polyester polar fleece, cutting matching fringe on both layers, and tying with consistent tension.
Whether you are crafting solo or with loved ones, every knot ties in a little extra love. Now grab your fleece and start tying.
Frequently Asked Questions About Making a Fleece Tie Blanket
How long does it take to make a fleece tie blanket?
A standard fleece tie blanket takes 1.5 to 3 hours total. Beginners typically need closer to 3 hours, while experienced crafters can finish in under 2 hours. The tying stage takes the most time at 45 to 90 minutes.
What type of fleece is best for tie blankets?
Use 100% polyester polar fleece, specifically blizzard fleece or anti-pill fleece. These types do not fray, are soft and durable, and hold knots securely. Avoid cotton, flannel, minky, or woven fabrics.
How do I keep the blanket from unraveling?
The knots hold the blanket together, so use secure knot techniques like the balloon knot or square knot. Pull each knot snug but not overly tight. Check for skipped fringe pairs by tying in groups of 10.
Can kids help make a fleece tie blanket?
Yes, children ages 8 and up can help with tying under supervision. The repetitive motion is calming and builds confidence. Let kids handle the knots while an adult manages the cutting.
How do I stop the fleece from pilling?
Wash in cold water on gentle cycle and tumble dry on low heat. High heat damages fibers and causes pilling. Avoid washing with lint-producing items like towels or denim.
Do I need to pre-wash the fleece before making the blanket?
No, fleece does not shrink, so pre-washing is not necessary. Skipping this step saves time and maintains fabric integrity for easier cutting.

