
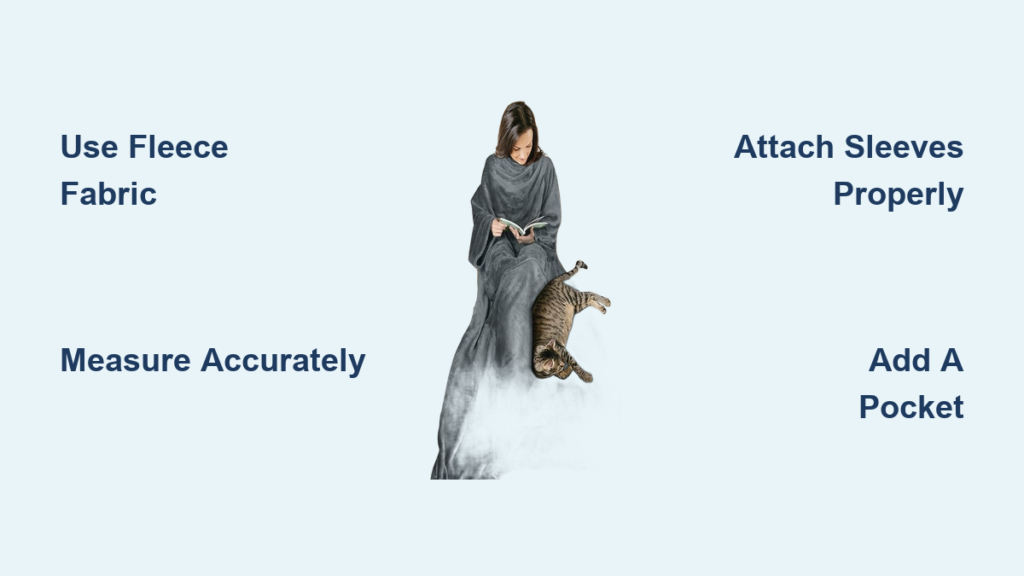
Imagine staying warm on the couch while scrolling your phone, sipping tea, or reading a book without sacrificing comfort or mobility. A blanket with sleeves, often called a snuggie or wearable blanket, delivers exactly that: cozy warmth with full hand freedom. Whether you sew one from soft fleece or crochet a plush version with yarn, this project is beginner-friendly, customizable, and perfect for lounging, gifting, or sensory support.
In this guide, you’ll learn how to make a blanket with sleeves step by step, covering both sewing and crocheting methods. You’ll discover the best fabrics and yarns, precise measurements for kids and adults, techniques to avoid common mistakes, and smart upgrades like pockets and hoods.
Choose Your Method: Sewing or Crocheting
The first major decision is which crafting method suits your skills and timeline. Each approach offers distinct advantages.
Sewing: Fast and Beginner-Friendly
Sewing with fleece is the quickest path to a finished wearable blanket. This method works best for beginners because fleece doesn’t fray, eliminating the need for hemming. With a sewing machine, you can complete the entire project in under one hour. The fabric is soft, warm, and available in countless colors and prints.
Crocheting: Textured and Customizable
Crocheting appeals to crafters who want more design control and a handmade aesthetic. This method takes longer, typically six to ten hours, but offers beautiful texture and stretch. You can customize the fit, add decorative decreases, and create an artisan look that stands out. Super bulky yarn like Bernat Blanket Baby works best for this project.
Pro Tip: If you are new to crafting, start with the fleece sewing method. It is forgiving, fast, and requires minimal tools.
Pick the Right Materials for Your Project

Material choice directly impacts comfort, warmth, and construction ease. Selecting the right supplies from the start prevents headaches later.
Best Fabrics for Sewing
Fleece is the ideal choice because it is soft, warm, and forgiving. Use anti-pill fleece for durability that lasts through multiple washings. Double-sided fleece provides extra warmth for winter months. Sherpa offers a wool-like feel with excellent insulation. Avoid cotton blends because they fray and shrink.
Yardage Guide:
• Child (5-12 years): 1.25-2.5 yards
• Adult: 2.5-3 yards
• Tall adult (6 feet plus): 3+ yards
Use 60-inch-wide fabric for adults to avoid unnecessary side seams.
Best Yarns for Crocheting
For crocheting, choose super bulky yarn such as Bernat Blanket Baby. You will need approximately ten skeins, totaling around 2,870 yards. Use a 7mm crochet hook. Consider using linked double crochet stitches instead of regular double crochet to eliminate gaps without extra yarn.
Measure Correctly for a Perfect Fit
Accurate measurements ensure your wearable blanket drapes comfortably without riding up or tripping the wearer. Taking a few minutes to measure prevents costly mistakes.
Key Body Measurements to Take
| Measurement | How to Measure |
|---|---|
| Blanket length | Top of shoulder to floor (adults); neck to toe (children) |
| Sleeve length | Shoulder to wrist or fingertip |
| Shoulder width | Across back from shoulder to shoulder |
| Neck opening | Around base of neck |
Recommended Dimensions by Size
| Size | Blanket Length | Sleeve Length |
|---|---|---|
| Child (5 years) | 36-40 inches | 16-18 inches |
| Child (9-11 years) | 45-50 inches | 20-22 inches |
| Adult | 55-65 inches | 24-26 inches |
| Tall adult | 66-72 inches | 27-30 inches |
Add 6-12 inches to the length for extra drape, especially for seated use. For children, add growth allowance so they can use the blanket longer.
Cut Your Fabric or Yarn
Precise cutting ensures symmetry and proper sleeve alignment. Take your time during this phase.
Cutting Fleece: Three Methods
Method A: Single-Piece Fleece Blanket
1. Fold fabric lengthwise (selvage to selvage).
2. Cut two 24-inch squares from the fold for sleeves.
3. Cut main body from remaining fabric.
4. Mark center point (12 inches) on both long edges.
5. Measure 11 inches in from fold on top edge and cut 24 inches down to create arm openings.
Method B: Custom Fit with Vertical Slits
1. Cut main blanket to desired length.
2. Fold in half and mark armhole positions.
3. Cut 6-inch vertical slits down from top edge on both sides.
4. Cut rectangular sleeves (unfolded dimensions should match arm length).
Method C: Circular Armholes
1. Cut a 72-inch by 60-inch rectangle.
2. Fold lengthwise.
3. Create an 8-inch diameter circle template.
4. Position 9 inches in from fold and 10 inches down from top.
5. Cut slightly inside the line first, then trim to final size.
Cutting Tip: Always cut slightly inside your line. You can always trim more, but you cannot add fabric back.
Sew and Attach the Sleeves
Sleeves are the defining feature that makes this blanket functional. Getting them right ensures freedom of movement.
Create Tube Sleeves
- Cut rectangles: 27 inches by 30 inches for adults, 16 inches by 12 inches for children.
- Fold lengthwise with right sides together.
- Sew the long edge with half-inch seam allowance.
- Turn right side out.
Attach Sleeves to the Blanket
- Align right sides together.
- Match the center of the sleeve to the cut edge of the arm opening.
- Pin or clip every 2-3 inches.
- Use a walking foot on your sewing machine.
- Set stitch length to 3 or longer.
- Sew from center outward.
- Clip seam allowance at corners to reduce bulk.
- V-notch corners for a flat finish.
- Repeat for the second sleeve.
Avoid Puckering: Do not pull the fabric while sewing. Let the machine feed it through. Use clips instead of pins on thick fleece.
Add a Front Pocket for Functionality

A pocket transforms a simple blanket into a useful companion for phones, remotes, or books.
Simple Pocket Construction
- Cut an 8-inch by 10-inch rectangle from matching fleece.
- Fold the top edge down half an inch, then fold again half an inch to hide the raw edge.
- Topstitch around three sides.
- Position just above belly button level.
- Topstitch all four sides to secure.
Angled Pocket Option
Trim 2 inches from the top corners to form a triangle before folding and stitching. This creates a modern look and easier hand access.
Finish Edges for a Clean Look
Fleece does not fray, but finishing improves the overall appearance.
Edge Finishing Options
• Leave the raw edge as-cut for a minimalist style
• Fold over half an inch and stitch close to the fold
• Use a machine blanket stitch for decorative flair
• Apply double topstitching along edges for a polished look
Use black thread on dark fabrics to hide stitching lines.
Care for Your Wearable Blanket
Proper care extends the life of your creation and keeps it soft.
| Care Step | Instructions |
|---|---|
| Washing | Cold water, gentle cycle, mild detergent, no bleach |
| Drying | Tumble dry low or air dry; fluff to reduce lint |
| Storage | Fold or roll; do not hang (can stretch) |
Fluff the blanket in the dryer for 10 minutes before first use to soften the fabric.
Common Problems and How to Fix Them
Knowing potential issues helps you prevent them.
Puckered Seams
Cause: Fabric stretching during sewing
Solution: Use a walking foot, clip layers together, and avoid pulling the fabric
Misaligned Sleeves
Cause: Poor marking or insufficient pinning
Solution: Mark center points clearly and pin every 2 inches
Sleeves Too Tight
Cause: Inaccurate arm circumference measurement
Solution: Add 2-3 inches of ease to upper arm measurement
Blanket Rides Up
Cause: Too short or narrow
Solution: Increase length and width for better drape
Prevention Tip: Always try on the blanket before final stitching to check the fit.
Customize Your Design
Make your blanket unique with these creative upgrades.
• Use themed fabric prints like superheroes, animals, or holidays
• Add a hood for extra warmth around neck and head
• Create a lined blanket with fleece outside and flannel inside
• Add snaps or ties at the neckline for adjustable fit
• Make elastic cuffs for snug wrist fit
• Create matching family sets in different sizes
Frequently Asked Questions About Making a Blanket with Sleeves
What is the easiest fabric to use for a blanket with sleeves?
Anti-pill fleece is the easiest fabric because it does not fray, sews smoothly, and comes in many colors. It is also machine washable and retains its softness after multiple washes.
How long does it take to make a blanket with sleeves?
Sewing with fleece takes under one hour for an experienced sewer. Crocheting takes longer, typically six to ten hours depending on your speed and the complexity of the pattern.
Can I make a blanket with sleeves without a sewing machine?
Yes, you can hand-sew the blanket or use fabric glue designed for heavy fabrics. However, a sewing machine produces more durable seams and finishes the project faster.
What size blanket with sleeves do I need for a child?
For children ages 5-12, a blanket measuring 36-50 inches in length with sleeves of 16-22 inches works well. Add growth allowance so the blanket lasts longer as the child grows.
How do I prevent the sleeves from twisting when wearing the blanket?
Sew sleeves with the seam running down the underside of the arm. Ensure the sleeve circumference includes 2-3 inches of ease for comfortable movement. Reinforce sleeve attachment points with backstitching.
Can I add a hood to a blanket with sleeves?
Yes, cut two identical hood pieces from fleece, sew the front and back seams, and attach the hood to the neckline. Use a zigzag stitch around the neckline to secure it firmly.
Key Takeaways for Making Your Own Blanket with Sleeves
Creating a blanket with sleeves is a rewarding project that combines comfort with functionality. Start with the sewing method if you are a beginner because it is quick and forgiving. Choose anti-pill fleece for durability, measure carefully before cutting, and add a pocket for extra utility. Whether you sew a cozy fleece version in an afternoon or crochet a textured masterpiece over several evenings, your wearable blanket will become a go-to favorite for lounging, gifting, or staying warm in style. Now grab your fabric or yarn and make your own snuggie today.

