
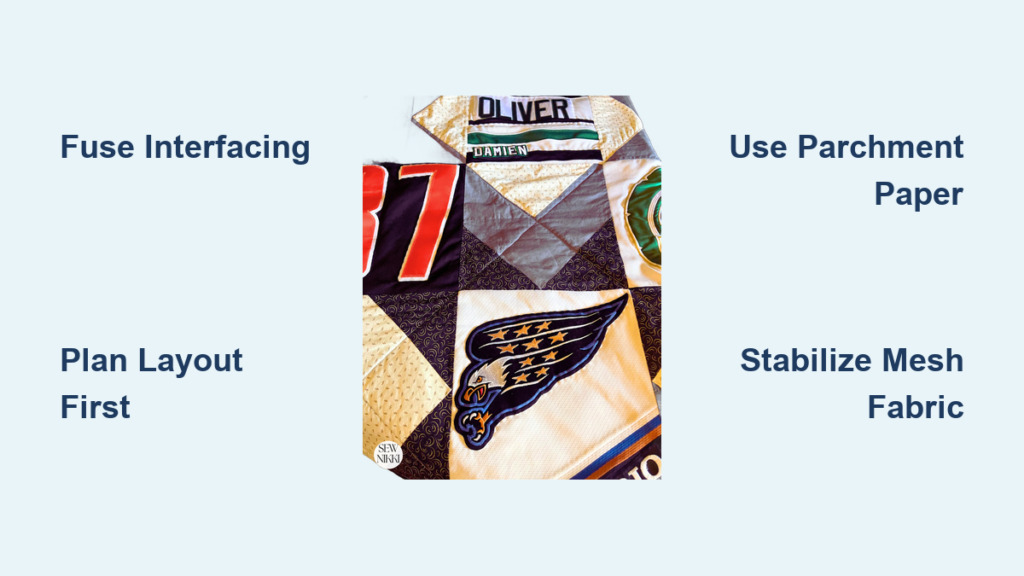
Turning a stack of game-worn hockey jerseys into a quilt is one of the most meaningful ways to preserve a player’s story on the ice. Unlike a standard T-shirt quilt, making a hockey jersey quilt requires special handling because the fabric is stretchy, synthetic, and often features mesh panels. With the right stabilization, layout planning, and finishing techniques, you can build a keepsake that lasts for decades.
This guide walks you through every stage of the process. You will learn how to choose jerseys, fuse knit interfacing, design a balanced layout, sew pieced blocks like Flying Geese, and finish the quilt with professional durability. Whether you are crafting a graduation gift or a retirement tribute, these steps will help you avoid common pitfalls like melted fabric or cropped logos.
Plan Your Hockey Jersey Quilt Layout Before Cutting
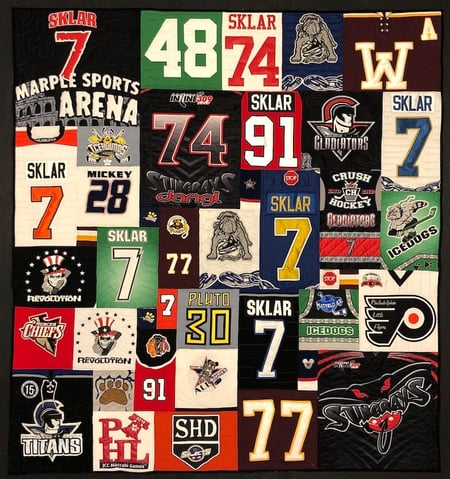
A thoughtful layout protects important graphics and prevents a cluttered final result. Before you pick up scissors, decide how many jerseys you will use and how they will fit together on the quilt top.
Choose Block Size and Quantity
Most hockey jersey quilts use 12.5″ x 12.5″ finished blocks. This size gives enough room for large team logos, player names, and numbers. A common layout for 15 jerseys is 6 rows of 5 blocks, alternating with pieced or sashing blocks.
- Use full front or back panels per block when possible.
- Include sleeve sections or shoulder graphics as accent blocks.
- Add half-blocks measuring 12.5″ x 6.25″ for borders to maintain visual rhythm.
If your jersey’s logo extends into the collar or sleeves, design your block to include those areas. Otherwise, you risk cropping the most important details.
Avoid Monotony with a Smart Color Strategy
Many players own identical home (white) and away (colored) jerseys. Using both can create visual repetition if you are not careful.
- Prefer colored away jerseys for stronger visual impact.
- Space out white jerseys so they do not cluster in one section.
- Use neutral sashing in grey, black, or white cotton to tie diverse team colors together.
Mix Media for Visual Interest
Combining jersey blocks with cotton fabric elements creates a more dynamic design. You can add Flying Geese units in grey or team colors to form chevron or star patterns. Kona cotton sashing between blocks adds contrast and structure. Placing player names across the top and bottom rows works well as a header or footer when space is limited.
Limit the use of numbers throughout the quilt. Using every number can make the finished piece feel like a stat sheet rather than a memory keepsake.
Select and Prepare Your Jerseys for the Quilt
Not every piece of hockey gear belongs in a quilt. Knowing what to include and how to prep it makes the difference between a clean result and a damaged fabric disaster.
Items You Can Use
- Hockey jerseys in mesh or solid fabric
- T-shirts or sweatshirts to fill gaps or add variety
- Hat logos cut from embroidered or printed sections
- Gear bag emblems from screen-printed or stitched patches
- Hockey socks, using only the calf section for stripes or logos
- Magnetic snap-on captain “C” letters that can be reattached after washing
Items to Avoid or Modify
- Hockey sticks, pucks, and skates are too rigid to sew.
- Pins must be removed before quilting and reattached later by hand.
- Full socks and hats should only be used for their flat, printable areas.
Wash and Press Safely
- Wash all jerseys in cold water and dry on low to pre-shrink the fabric.
- Press gently using a low heat setting on your iron.
- Always place parchment paper between the iron and the jersey to protect synthetic fibers and see graphics clearly.
- Never iron directly on mesh or printed areas, since heat can melt or flatten the texture.
Use a firm surface like a wooden cutting mat covered with a towel for fusing. Ironing boards are too soft and will not give you the support you need.
Stabilize Every Jersey Block
Stabilization is the most critical step in making a hockey jersey quilt. Hockey jerseys stretch, shift, and distort easily. Without proper interfacing, your blocks will warp during sewing and ruin the final layout.
Choose the Right Fusible Knit Interfacing
Pellon P44F or FusiKnit Tricot interfacing works best for this project. Both products are lightweight and 20″ wide. They bind to knit fabric without adding stiffness and make jersey behave like cotton during sewing.
Cut and Fuse the Interfacing Properly
- Cut interfacing 1.5″ larger than your finished block. For a 12.5″ block, cut a 14″ square.
- Place the jersey right side down on a firm work surface.
- Position the interfacing with the glue side down on the wrong side of the jersey.
- Iron with low heat and no steam, using parchment paper as a shield.
- Press for 10 to 15 seconds per section, moving across the fabric slowly.
Plan about 5 minutes per block for this step. Always check the fit with a 12.5″ square ruler before trimming. You want 0.5″ of seam allowance on every side. Trim only after fusing, never before.
Cut and Assemble Jersey Blocks
With stabilization complete, you are ready to cut and organize your blocks for sewing.
Cut Panels from the Jerseys
- Cut up the side seams to separate the front and back from the sleeves.
- Cut across the shoulders to open the panel flat.
- Leave 1 to 2 inches of margin around the design before fusing.
- After fusing, trim each piece to 12.5″ x 12.5″.
Piece Complex Designs When Needed
Some blocks benefit from combining multiple jersey sections. You can piece the front, back, and sleeve together to show a full number on the back and a name on the front. Use a 0.5″ seam allowance and a walking foot to prevent shifting while sewing.
Arrange the Final Layout
Lay all blocks on the floor or a design wall before sewing. Alternate colors and team logos for balance. Insert Flying Geese or sashing blocks between jersey squares to break up the grid. Take a photo of your finished layout. This becomes your sewing roadmap for assembly.
Build Pieced Blocks Like Flying Geese
Flying Geese blocks add motion and pattern to your hockey jersey quilt. They work especially well for borders or filler rows between jersey squares.
Cut the Triangles
- Large triangles: Cut 14″ strips, then sub-cut into 14″ squares. Cut each square diagonally to yield 4 quarter triangles.
- Small triangles: Cut 8″ strips, sub-cut into 8″ squares, then cut each in half diagonally to get 2 triangles.
Sew Without Pins
Pinning bias-cut fabric causes shifting. Use this pin-free method instead:
- Place one small triangle on the corner of a large triangle with right sides together.
- Align the bottom edges.
- Sew a 0.25″ seam, starting with 1 to 2 stitches to lock the fabric, then continue sewing.
- Repeat on the opposite corner.
- Press gently without stretching the fabric.
Trim to the Correct Size
Use a 12.5″ square ruler to trim the finished unit. Align the 6.25″ line with the point of the unit, then trim the sides and top to create a 12.5″ x 6.25″ half-block. Combine two half-blocks if you need a full 12.5″ square.
Assemble the Quilt Top

Now bring all the elements together by sewing rows and adding borders.
Sew Row by Row
- Chain-piece blocks to save time by feeding pairs into the machine without cutting threads.
- Use a walking foot to handle thickness and prevent puckering.
- Press seams to one side, or open them if bulk is an issue.
Add Borders and Sashing
Use half-blocks measuring 12.5″ x 6.25″ to frame the edges of your quilt. Insert 1.5″ cotton sashing strips between blocks for a clean grid look. For chevron designs, continue the Flying Geese pattern into the borders. A dark grey or black sashing acts like a frame around each jersey, making the colors pop.
Quilt and Finish with Care
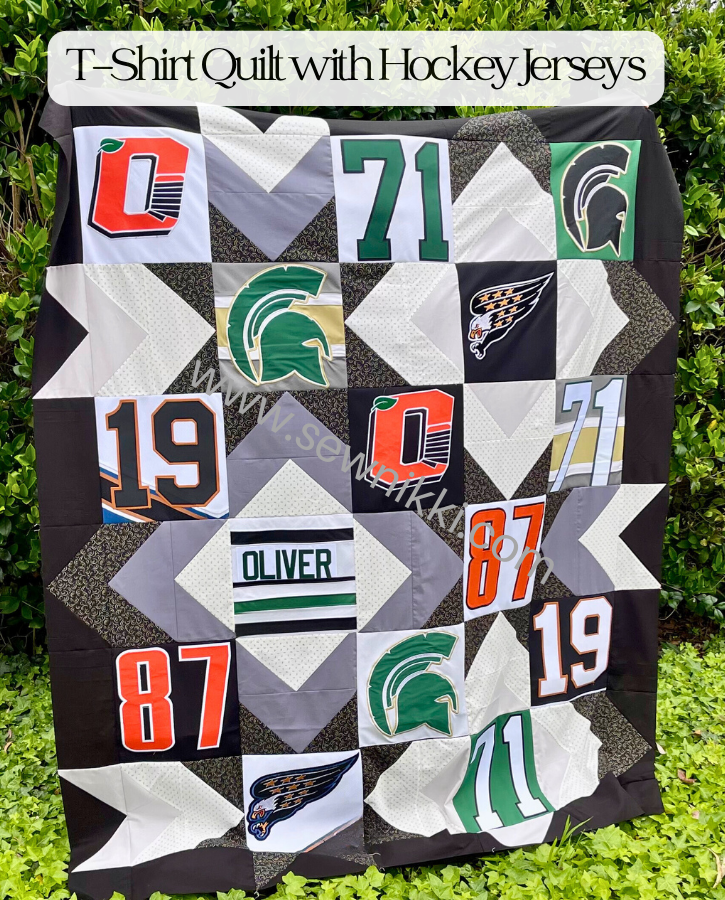
The final layers of batting, backing, and binding must match the quilt’s weight and durability.
Layer the Quilt Properly
- Use 100% cotton fabric like Kona for the backing. Pre-wash it to prevent shrinkage.
- Choose medium-weight batting in polyester or a blend for warmth without excess bulk.
- Pin or baste the layers together with safety pins or spray adhesive.
Machine Quilt Strategically
- Avoid free-motion quilting directly over thick emblems, since needles can break or snag.
- Quilt around graphics using straight or stipple lines.
- Use a ballpoint needle and a stitch length of 2.5 to 3.0 mm for flexibility.
- Adjust the presser foot height if you struggle to pass over thick seams.
Bind the Edges
Use cotton double-fold binding cut into 2.5″ wide strips. Miter the corners for a crisp finish. Hand-stitch or machine-stitch the back for long-term durability.
Preserve Special Details in Your Quilt
Maximize the sentimental value by integrating unique memorabilia into your design.
Attach Captain’s “C” Letters
Use magnetic snap-on letters for captain designations. Sew only the base to the quilt, then snap the letter on and off for easy washing.
Reattach Pins and Patches
Remove all pins before quilting. After finishing the quilt, re-sew them by hand onto the appropriate jersey blocks.
Use Sock and Hat Sections
Cut the calf areas from hockey socks for stripe blocks. Use the flat front panels of hats for embroidered logos. These small touches add personality and variety to the finished piece.
Maintain Your Hockey Jersey Quilt
Even heirloom quilts need proper care to stay beautiful for years.
Washing Instructions
- Remove magnetic letters before washing.
- Use a gentle cycle with cold water and mild detergent.
- Air dry or tumble dry on low. High heat can damage synthetic fibers.
- Never use bleach on the quilt.
Long-Term Durability
The fusible interfacing prevents sagging over time. Cotton backing resists pilling and adds structure. Properly stored, a hockey jersey quilt can last for decades as a family keepsake.
The weight of the quilt is normal. Hockey jersey quilts are heavier than T-shirt quilts, and this is a feature, not a flaw.
Frequently Asked Questions About Hockey Jersey Quilts
What is the best stabilizer for a hockey jersey quilt?
Pellon P44F or FusiKnit Tricot fusible knit interfacing is the best stabilizer for hockey jerseys. Both products prevent stretch and distortion without adding stiffness, making the synthetic fabric behave like cotton during sewing.
Can you put mesh hockey jerseys in a quilt?
Yes, you can include mesh hockey jerseys in a quilt. The key is to back the mesh with fusible interfacing to fill the holes and prevent batting from showing through. This preserves the texture while keeping the fabric stable.
How many jerseys do you need to make a quilt?
Most hockey jersey quilts use 15 jerseys arranged in a 6-row by 5-block layout. However, you can use fewer jerseys by adding T-shirts, sweatshirts, or pieced blocks like Flying Geese to fill the gaps.
How do you wash a hockey jersey quilt?
Wash the quilt on a gentle cycle in cold water with mild detergent. Remove any magnetic letters before washing. Tumble dry on low or air dry to protect the synthetic fibers from heat damage.
How do you keep iron-on letters from melting when pressing a jersey?
Always place parchment paper between the iron and the jersey when pressing. Use a low heat setting with no steam. Never iron directly on mesh, prints, or iron-on letters, since direct heat can melt the synthetic fibers.
Is making a hockey jersey quilt harder than a T-shirt quilt?
Yes, making a hockey jersey quilt is more complex than a standard T-shirt quilt. Hockey jerseys require stabilization, careful handling of mesh, and planning for larger graphics. The finished quilt is also heavier, but the result is a more durable and meaningful keepsake.
Key Takeaways for Making a Hockey Jersey Quilt

Making a hockey jersey quilt is a rewarding project that turns years of memories into a single heirloom piece. The three most important steps are stabilizing every jersey with fusible knit interfacing, planning your layout before cutting, and using parchment paper whenever you press synthetic fabric. These habits prevent the most common mistakes, including melted graphics, warped blocks, and cropped logos.
Your next step is to gather your jerseys, order Pellon P44F interfacing, and sketch a rough layout on paper. Test your fusing method on a scrap jersey first, then build one block at a time. With patience and attention to detail, you will create a quilt that honors every shift, save, and celebration on the ice for generations to come.

