
There’s nothing quite like the satisfaction of finishing a handmade quilt, with its vibrant fabrics, precise seams, and cozy layers telling a story of creativity and care. But for many quilters, especially beginners, the journey can quickly turn frustrating with wavy borders, exposed batting, or mismatched points. The good news is that the right quilt making tips can help you avoid common pitfalls and create beautiful, professional-looking quilts from the very start.
Quilt making is equal parts art and engineering. While there are no hard-and-fast rules when it comes to design, and you should feel free to improvise, mix colors boldly, or break tradition, the technical foundation must be solid. Precision in cutting, consistent seams, proper layer sizing, and smart material choices are what transform a lumpy project into a cherished heirloom. This guide delivers actionable quilt making tips proven by experienced quilters so you can build confidence and skill with every project.
Cut Smarter, Not Harder
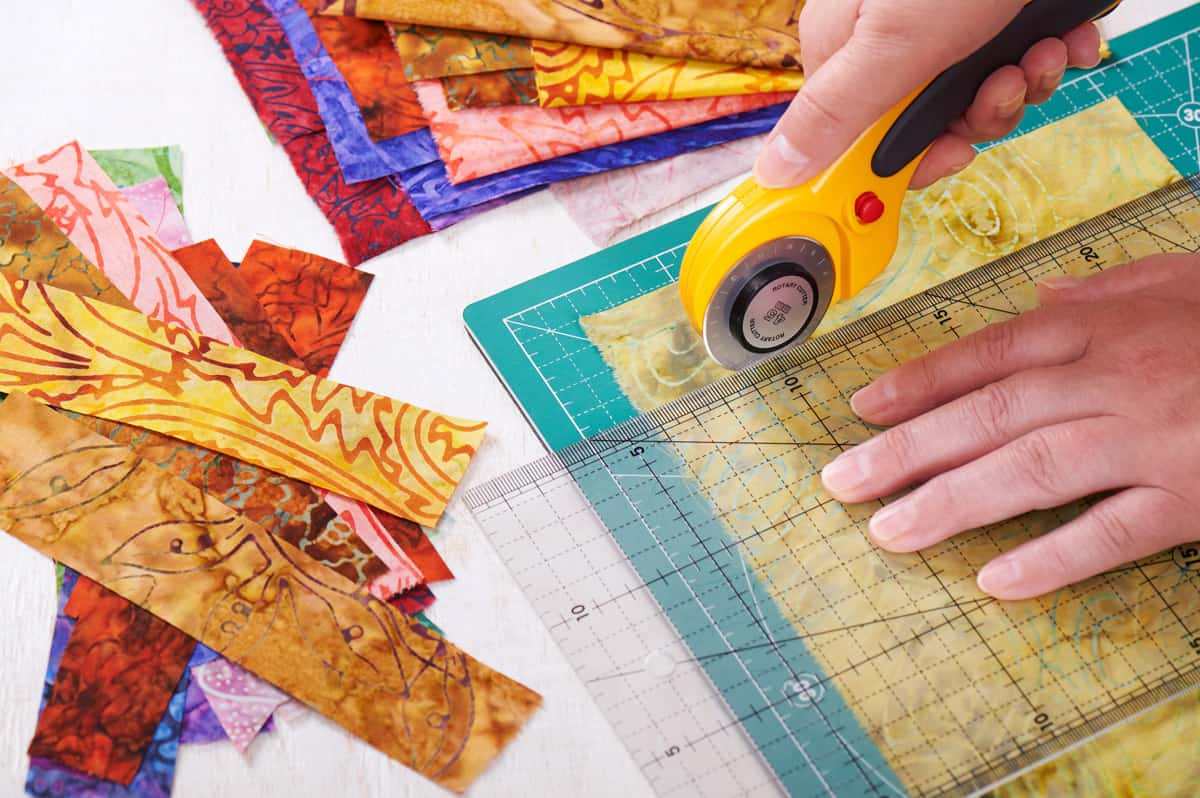
Precision in quilting begins with the cut. A standard professional setup includes a rotary cutter, a self-healing mat, and clear acrylic quilting rulers. Unlike scissors, rotary cutters glide through multiple layers without shifting the fabric, ensuring consistency that’s critical for complex patterns.
Use a Spinning Cutting Mat for Faster Trimming
A rotating self-healing mat is a game changer for trimming blocks. Instead of lifting and repositioning fabric to cut each side, simply rotate the mat under your ruler. This keeps the fabric stable, reduces handling, and speeds up trimming, especially when making multiple Half Square Triangles or Flying Geese blocks. Less movement means less chance of misalignment and increased safety.
Highlight Ruler Lines with a Dry Erase Marker
Misreading ruler lines is a common cause of miscuts. Before cutting, use a dry-erase marker to highlight the exact measurement line you need, such as the 2.5-inch line. The bright color makes it impossible to miss, even under poor lighting. Wipe it clean with a cloth when finished for a residue-free surface.
Replace Rotary Blades Frequently
A dull rotary blade doesn’t just slow you down. It causes frayed edges, skipped cuts, and dangerous slips. Replace blades at the first sign of resistance or jagged cuts. To track blade life, write the installation date directly on the blade with a permanent marker. Most quilters replace blades every 6 to 8 weeks with regular use.
Stiffen Fabric with Spray Starch
For crisp, accurate cuts, especially on bias edges or tiny pieces, spray starch or liquid sizing is essential. Spray the fabric and press with a hot, dry iron to lock in stiffness. This prevents shifting during cutting and piecing, reduces fraying, and is crucial for foundation paper piecing and miniature quilts.
Master the 1/4-Inch Seam
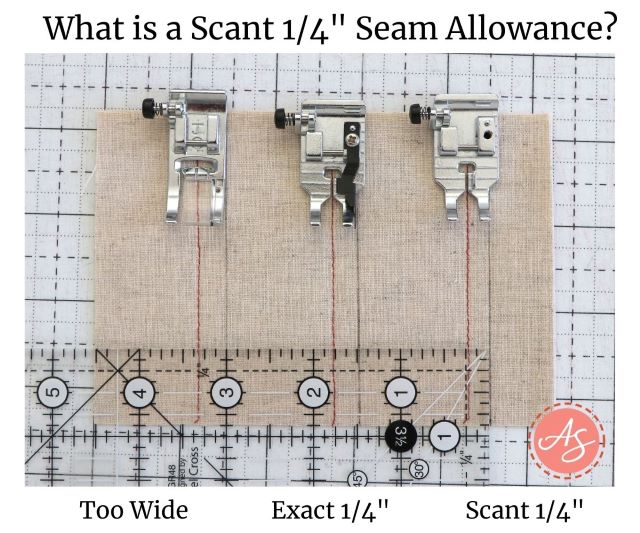
A consistent 1/4-inch seam allowance is the gold standard in quilting. A deviation of even 1/32 of an inch can compound across a quilt, resulting in misaligned points and wavy borders. Mastering this single technique will dramatically improve your finished work.
Test Your Seam Allowance Regularly
Use a dedicated 1/4-inch presser foot and test your seam by sewing two 2.5-inch squares together. The resulting block should measure exactly 4.5 inches. If it doesn’t, adjust your needle position until you achieve perfect calibration. Repeat this test after every major project or machine cleaning.
Chain Piece for Speed and Consistency
Chain piecing means sewing multiple units in a row without cutting the thread between them. Stack your fabric pairs in order, feed them continuously, and snip the chain when done. This saves significant time, reduces thread waste, and maintains a steady rhythm. It’s ideal for blocks like Half Square Triangles or simple patchwork units.
Nest Seams for Perfect Points
To align intersections in blocks like Four-Patch or Flying Geese, press adjacent seams in opposite directions, one to the left and one to the right. When sewing them together, the seams will nest and interlock like puzzle pieces. Pin at the intersection and sew through the bump to lock the points in place with precision.
Press, Don’t Iron Your Seams
Ironing by sliding the iron back and forth can stretch bias edges and distort blocks. Instead, press by lowering the iron straight down, holding it for a few seconds, then lifting. For flatter seams, use a wooden tailor’s clapper. Press the seam, place the clapper on top, and hold it down as the fabric cools to trap heat and flatten bulk.
Avoid the Backing Blunder

One of the most common beginner mistakes is cutting the backing and batting to the exact size of the quilt top. When the layers shift during basting or quilting, raw edges and exposed batting appear. This frustration is universal among new quilters, but it’s entirely preventable with proper planning.
Oversize Your Batting and Backing
Always cut backing and batting 3 to 4 inches larger on all sides than your quilt top. Shifting is inevitable even for experienced quilters, so prepare for it rather than fight it. Once quilting is complete, trim all three layers together to the final desired size for clean, professional edges.
Measure Through the Center for Borders
Never measure along the outer edges of a quilt top, as they can stretch or distort. To cut straight, flat borders, measure through the exact center of the quilt, both vertically and horizontally. Cut your border strips to match those center measurements. This prevents puckering and ensures a smooth, even finish.
Use Spray Baste for a Rigid Sandwich
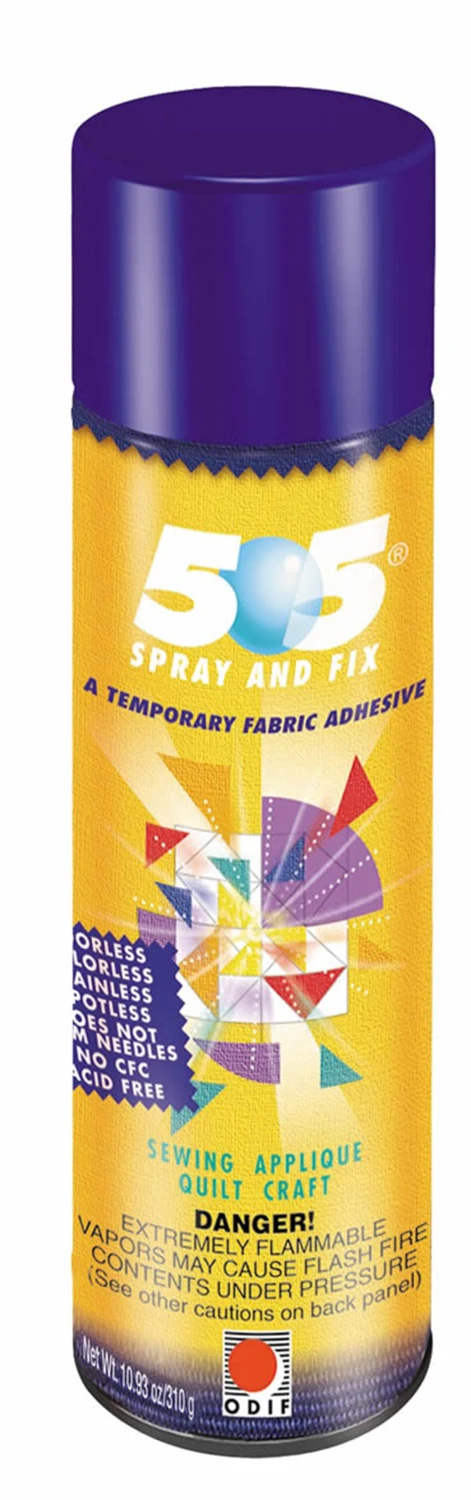
Pin basting works, but spray basting with adhesives like 505 Spray and Fix creates a taut, rigid quilt sandwich that doesn’t shift during machine quilting. Spray lightly and evenly in a well-ventilated area. The result is no pin drag, easier maneuvering, and fewer tucks in your finished quilt.
Pro Tip: If your needle gets gummy from spray adhesive, clean it with an alcohol swab. Switch to titanium-coated needles to resist buildup during long quilting sessions.
Choose Materials Wisely
Smart material selection saves money, time, and frustration. The fabrics and supplies you choose at the start directly impact how smoothly your project comes together and how long it lasts.
Buy Extra Fabric Every Time
Always buy at least 1/4 yard more than your pattern calls for. Running out mid-project means you may not find the same dye lot, ruining color continuity. This is especially critical for focal fabrics or large prints where matching matters most.
Start with Budget-Friendly Cotton
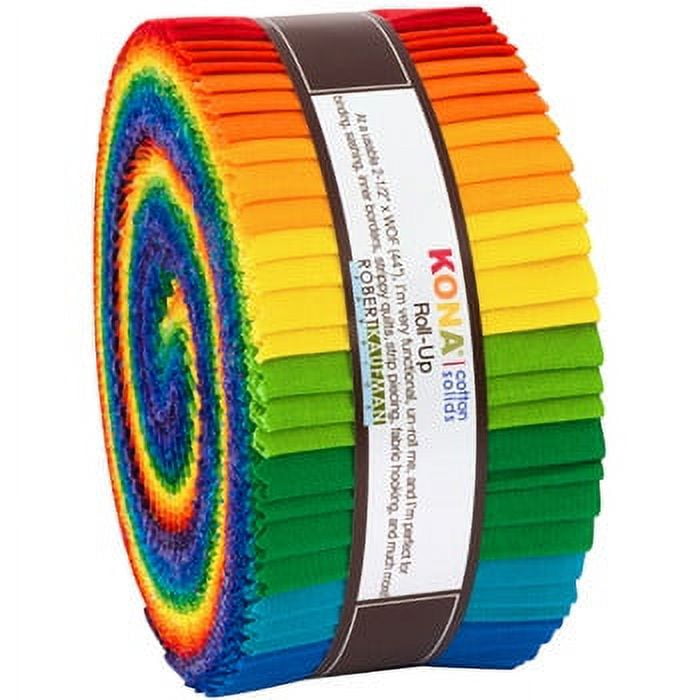
You don’t need designer fabric to make a stunning quilt. Beginners should use quality budget cottons like Kona, which are affordable, colorfast, and perfect for practicing skills. Save premium fabrics like Tula Pink for later projects when your precision improves and you can fully appreciate the difference.
Use Precuts to Save Time
Jelly rolls, charm packs, and layer cakes come pre-cut and color-coordinated. They eliminate measuring errors, speed up piecing, and reduce cutting risks. These bundles are great for scrappy quilts or modern designs with repetitive blocks.
Test Dark Fabrics for Color Bleeding
Before sewing, test dark or bright fabrics, especially reds and purples, for bleeding. Soak a swatch in hot water for 10 minutes. If the water colors, treat the fabric with ReTayne, a dye-setter that chemically locks in color. Following the instructions carefully ensures one treatment lasts a lifetime.
Fix Common Block Mistakes
Even experienced quilters make errors. The difference is knowing how to correct them quickly and prevent them in future projects. These quilt making tips address the most frequent block-related issues.
Sew “A Hair to the Right” on HSTs
When drawing a diagonal line to make Half Square Triangles, sew a hair to the right of the line, not on it. The folded fabric consumes a tiny amount of width, and sewing slightly off compensates for this, ensuring the finished block hits the correct size every time.
Make 8 HSTs at Once
For efficiency, cut two large squares, sew around all four edges at a 1/4-inch seam, then cut diagonally twice. You’ll get eight HSTs in one go. Press, trim to size, and you’re ready to piece without the tedium of making them one at a time.
Cut Binding on the Straight Grain
Unless you’re binding a curved edge, cut binding on the straight grain. It’s less stretchy and easier to handle. Use 2.5-inch strips, and precut packs work perfectly. Join strips at a 90-degree angle, making sure the loose ends are on the same side of the seam to avoid twisted joins.
Baste and Quilt with Confidence
The quilting stage secures your layers and defines your quilt’s texture and durability. Proper technique here prevents sagging, shifting, and uneven results over time.
Balance Your Quilting Density
Quilting only in the ditch of columns or random blocks can cause bagging, where loose areas sag over time. Quilt both rows and columns, or add an all-over pattern like stippling or echo quilting. This stabilizes the entire quilt and prevents shifting through years of use.
Use the Right Stitch Length
When quilting through all three layers, use a longer stitch length of around 3.5 to 4.0 mm. Too short, and the walking foot may struggle, causing skipped stitches or uneven feeding. On many machines, 5mm is the maximum, which is ideal for dense quilting through thick layers.
Try Foundation Paper Piecing for Complex Blocks
For complex blocks with sharp points like stars or Mariner’s Compass, foundation paper piecing guarantees accuracy. Sew fabric to a printed paper template in numerical order. Use lightweight or tear-away paper and a size 80/12 needle. Remove the paper after quilting, and your points will be perfect.
Finish Like a Pro
The final steps separate a homemade quilt from a professional heirloom. Attention to detail during finishing elevates your work and ensures it lasts for generations.
Hide Imperfections with Facing
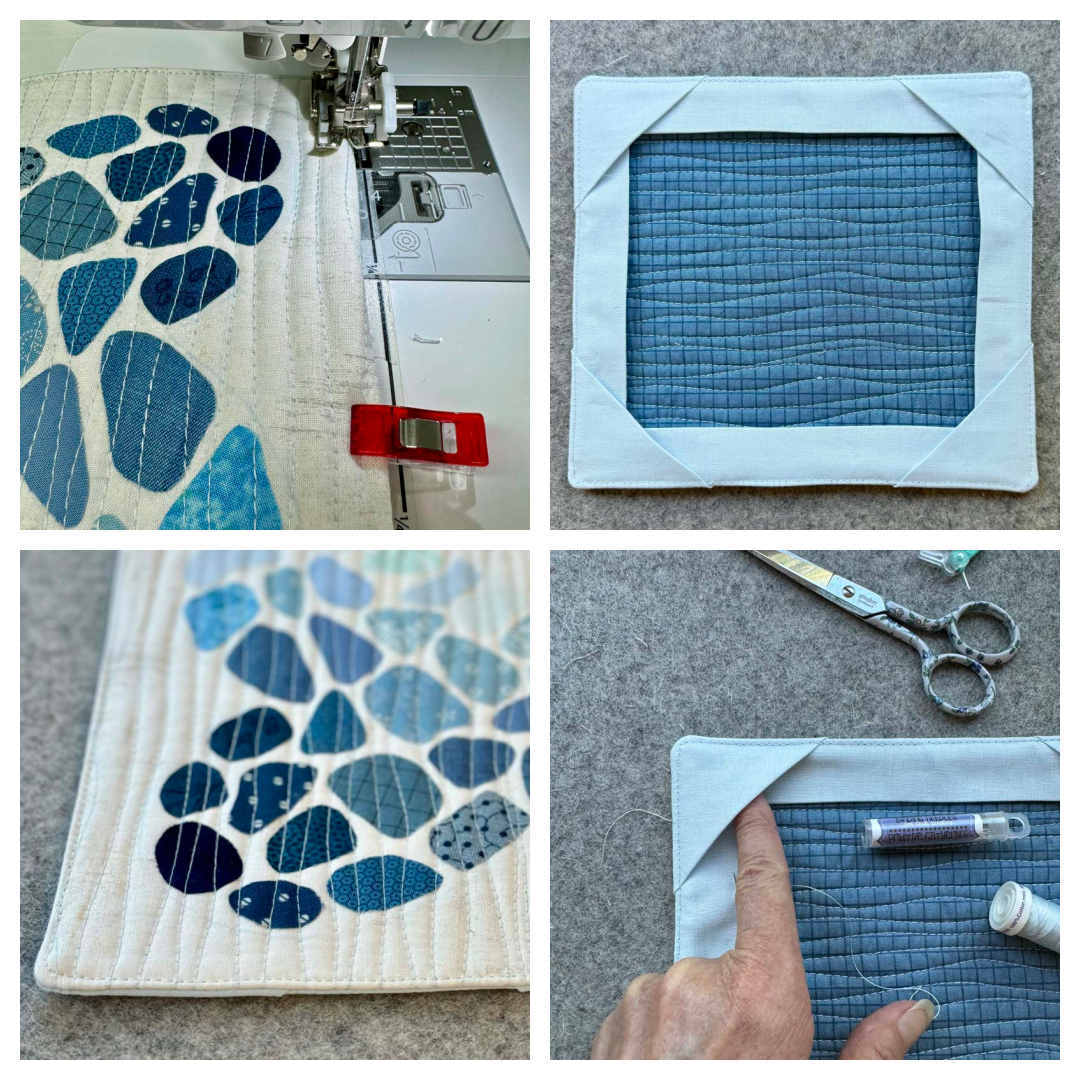
If your backing or batting shifted and the edges are uneven, use binding as a facing. Sew a narrow strip to the front, fold it to the back, and hand-stitch it down. This covers flaws and saves a quilt that might otherwise be ruined by visible raw edges.
Hand-Stitch for a Traditional Look
While machine binding is fast, hand-stitching the back gives a clean, traditional finish. Use a blind stitch and matching thread. It’s slower, but allows you to adjust for minor misalignments and creates a polished result worth the extra time.
Add a Personal Label
Every quilt deserves a story. Use a leftover fabric scrap, back it with iron-on interfacing, and trace your design. Type your text in Google Slides, print it, place it under the fabric, and trace with a permanent fabric marker. Sew it into a corner with contrasting thread for a custom touch.
Pro Tip: Spray baste the label in place instead of pinning. It stays flat and doesn’t shift during sewing.
Maintain Tools and Habits
Consistent tool maintenance extends the life of your equipment and improves every quilt you make. Small habits prevent big problems down the road.
Change Needles After Each Project
A dull needle causes skipped stitches, tension issues, and fabric snags. Replace your needle after every quilt. If you quilt frequently, change it every 8 to 10 hours of stitching to maintain optimal performance.
Clean Gunky Needles with Alcohol
Spray baste and thread buildup can gum up your needle. Dip a cotton swab in rubbing alcohol and wipe the shaft clean. For long-term resistance, switch to titanium-coated needles, which shed adhesive better than standard steel.
Fix Loose Thimbles with a Rubber Tip
If your thimble slips during hand quilting, cut the fingertip off an old textured rubber glove and wear it under the thimble. This creates instant grip and eliminates sliding so you can quilt comfortably for hours.
Frequently Asked Questions About Quilt Making Tips
What is the most common mistake beginners make when quilting?
The most common beginner mistake is cutting batting and backing to the exact size of the quilt top. When the layers shift during basting and quilting, raw edges and exposed batting appear. Always oversize these layers by 3 to 4 inches on all sides and trim after quilting.
How do I ensure my seam allowance is accurate?
Use a dedicated 1/4-inch presser foot and test your seam by sewing two 2.5-inch squares together. The finished block should measure exactly 4.5 inches. If it doesn’t, adjust your needle position until the measurement is perfect, and retest after every major project.
Should I prewash precut fabrics like jelly rolls?
Generally, prewashing precuts is not recommended due to fraying risks. However, if you’re mixing them with older fabrics or colorfastness is uncertain, you can prewash safely using a salad spinner with hot water and detergent, then press flat with a hot iron.
What’s the difference between pressing and ironing?
Ironing involves sliding the iron back and forth, which can stretch bias edges and distort blocks. Pressing means lowering the iron straight down, holding for a few seconds, then lifting. Pressing protects your fabric shape and creates flatter, more accurate seams.
How often should I replace my rotary blade?
Replace your rotary blade at the first sign of resistance, jagged cuts, or frayed edges. Most quilters replace blades every 6 to 8 weeks with regular use. Writing the installation date on the blade with a permanent marker helps you track its age accurately.
Can I fix a quilt with shifted batting and backing?
Yes. Use binding as a facing by sewing a narrow strip to the front of the quilt, folding it to the back, and hand-stitching it down. This covers any uneven edges and saves a quilt that might otherwise be considered ruined.
Key Takeaways for Better Quilt Making
Quilt making tips aren’t about following rigid rules. They’re about building skills that set you free to create with confidence. The most important lessons from this guide are simple: cut with precision using sharp blades and proper tools, maintain a consistent 1/4-inch seam, and always oversize your backing and batting to accommodate inevitable shifting.
Beyond technique, remember that material choices matter. Buy extra fabric, start with budget-friendly cottons while learning, and test dark fabrics for bleeding before sewing. These small steps prevent major headaches later in the process.
Start your next project by choosing one or two techniques from this guide to focus on. Perhaps you’ll try chain piecing for speed or measure your borders through the center for a flatter finish. Each small improvement compounds over time, transforming you from a beginner into a confident quilter who creates heirloom-quality work. Grab your rotary cutter, sharpen that blade, and begin your next quilt with these proven strategies in mind.

