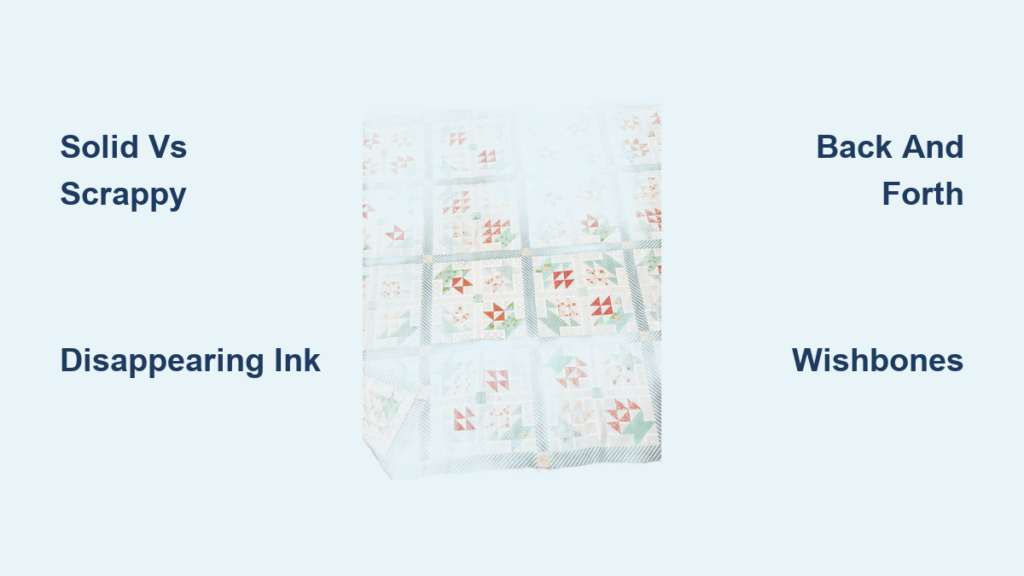
Sashing is far more than a simple spacer between blocks. Often overlooked, smart quilt sashing ideas can transform a busy layout into a cohesive masterpiece or elevate simple blocks into a modern work of art. Whether you work with scrappy 2.5″ squares or precision pieced blocks, sashing adds rhythm, balance, and breathing room to your quilt top. From clean lines to whimsical free-motion quilting, the right sashing strategy ties everything together, both literally and visually.
This guide explores innovative quilt sashing ideas backed by real quilter-tested techniques, including alignment tricks, FMQ designs for narrow strips, and creative ways to use scraps. You will learn how to choose sashing that complements your blocks, how to quilt it beautifully, and how to avoid common pitfalls, all while maintaining a crisp, professional finish.
Choose the Right Quilt Sashing Style
Solid vs. Scrappy Sashing
Solid sashing uses one consistent fabric, often white, neutral, or tonal, to frame quilt blocks. This approach works best when blocks are busy or colorful, allowing the eye to rest between elements. It creates a clean, modern grid and emphasizes block design.
Scrappy sashing uses leftover strips from your stash or pre-cuts. These can be pieced together from 2.5″ scraps (called “crumbs”) to create dynamic, colorful strips. Scrappy sashing adds movement and charm, especially in baby quilts or rustic designs. For a cohesive look, stick to a single color family, such as all blues or warm reds.
Pro Tip: Press seams toward the sashing to reduce bulk at intersections, ensuring flat, aligned rows.
Criss-Cross and On-Point Sashing

When blocks are set on point (diagonally), criss-cross sashing creates a woven or lattice effect. This technique adds depth and structure, particularly effective in traditional or modern geometric quilts.
Use two contrasting colors in the sashing strips, one horizontal and one vertical, to enhance the illusion of interlacing. For example, mint green vertical strips paired with red horizontal ones create visual pop while framing bold blocks.
Visual Cue: Look for perfect X-shaped intersections where strips cross. Use the disappearing ink method (detailed below) to align seams precisely.
Framed Block Sashing
Instead of sashing directly between blocks, first frame each block with a narrow border (such as ½” or 1″). Then add wider sashing (2.5″) between the framed units. This layered approach adds dimension and draws attention to individual blocks.
This technique is ideal for irregular block sizes, common in heritage or scrap quilts, because the inner frame standardizes the block size before sashing.
Design Hack: Mirror a motif from the block (like a small loop or star) in the inner frame to visually connect elements.
Build a Perfect Grid with Precision
Chain-Piece Horizontal Sashing
Speed and accuracy matter when assembling rows. Chain piecing is the fastest way to add horizontal sashing between blocks.
- Cut sashing strips to match block height (e.g., 2.5″ x 4.5″ for 4.5″ blocks).
- Feed block-sashing-block units through the machine without lifting the presser foot.
- Press all seams toward the sashing for reduced bulk.
This method ensures consistency and minimizes handling, reducing distortion.
Time Saver: Use a leader/ender project by sewing sashed block units while warming up or cooling down on your machine.
Align Vertical Sashing with Disappearing Ink
Misaligned intersections ruin a clean grid. The disappearing ink method guarantees straight lines.
- Complete each row with horizontal sashing.
- Add a long sashing strip to the top of each row.
- Use a disappearing ink pen and small ruler to mark alignment points on the top sashing. Place two tiny dots directly above the vertical seam lines of the row below.
- Lay the next row on top, matching blue dots to seams.
- Pin securely and stitch.
Why It Works: Temporary marks vanish within 24 to 48 hours, leaving no trace.
Warning: Don’t skip pinning. Fabric can shift even with careful handling.
Free-Motion Quilting for Sashing Strips

Back and Forth Stitching
Ideal for beginners, this linear design moves across the sashing in straight or slightly wavy lines.
- Foot-Guided Technique: Keep the edge of your free-motion foot touching the top and bottom of the sashing. This ensures even spacing, even if the needle wobbles.
- Spacing: Let the foot edge touch the previous line to maintain consistency.
- Direction: Stitch side-to-side or top-to-bottom, whichever feels more natural on your machine.
Best For: 1.5″ to 2.5″ wide sashing; works with any block style.
Loops and Loopy Meanders
Loops are forgiving, fast, and expressive, perfect for tying together disparate blocks.
- Style Variations: Upright or slanted; narrow or wide. Think lowercase “e” (tight loop) or “l” (tall loop).
- Flow: Create continuous loops across the strip without lifting the needle.
- Pro Tip: Match loop size to block scale. Use small loops for dainty blocks, large loops for bold designs.
Beginner Hack: Practice on a scrap sandwich first. Loops hide minor tension issues.
Fish Bone Filler
A dynamic twist on loops, fish bone quilting adds texture by creating alternating top and bottom loops as you travel.
- Execution: Stitch a loop at the top, travel down, stitch a loop at the bottom, repeat.
- Density Control: Space loops close for heavy texture or far apart for a light fill.
- Visual Effect: Creates a braid-like pattern that draws the eye along the sashing.
Skill Level: Intermediate. Requires steady hand control but builds muscle memory quickly.
Ribbon Candy Waves
This elegant, continuous wave resembles wrapped candy and is a favorite for modern quilts.
- Mental Image: Visualize stitching around a dime at the top and bottom of each curve.
- Travel Line: Move straight down between curves. Don’t curve the travel line.
- Foot Guidance: Let the edge of the foot touch the previous stitch line to maintain even spacing.
Challenge: Ribbon candy looks simple but demands rhythm. Practice in short segments.
Expert Note: Works beautifully in 2″ to 3″ sashing; too tight for 1″ strips.
FMQ Ideas for Skinny Sashing

Wishbones for Narrow Borders
Wishbones are the go-to design for sashing under 1.5″ wide.
- Why It Works: Easy to quilt vertically or horizontally; simple to pause and restart.
- Technique: Stitch a V-shape with a curved base, then mirror it back up.
- Efficiency: Allows logical quilting paths. Quilt one sashing direction first, then the other.
Rockstar Level: Feathers are classic but harder to control in narrow spaces. Wishbones offer similar elegance with less stress.
Figure Eights and Continuous Waves
For 1.5″ sashing, figure eights are ideal. They are simple, continuous, and visually engaging.
- How-To: Stitch a small loop, travel through the center, stitch another loop on the opposite side.
- Variation: Stack figure eights vertically for a chain effect.
- Alternative: A serpentine stitch, which is a smooth, wavy line, adds gentle motion without complexity.
Design Match: Use figure eights to echo circular motifs in blocks.
Large and Plain Circles
When blocks are busy, keep sashing simple. Large circles that touch both edges of the strip provide a clean, bold look.
- Execution: Use a consistent curve size. Imagine a half-dollar coin.
- Spacing: Let the foot guide spacing; keep circles evenly distributed.
- Alternative: Plain circles (not touching edges) offer subtle texture without competing.
Best For: 1.5″ strips; avoids visual clutter.
Creative Thematic Sashing Motifs

Dancing Stars and 5-Pointed Stars
Add whimsy with dancing stars, which are stars with open, looped arms.
- Design: Resembles a child’s hand-drawn star; airy and fun.
- Use Case: Perfect for baby quilts or holiday themes.
- Density: Keeps quilting light while adding interest.
Simple Star Option: Draw a single 5-pointed star per sashing segment. Great for domestic machines and easy to stop and reposition.
Zigzag for Angular Quilts
If your quilt features triangles, diamonds, or chevrons, zigzag stitching in the sashing reinforces the theme.
- Execution: Stitch sharp, consistent angles across the strip.
- Variation: Add small peaks or widen the zigzag for boldness.
- Foot Guidance: Use the corner of the foot to hit turning points.
Pro Tip: Mark a light guideline with a Hera marker for perfect symmetry.
Materials and Tools That Make a Difference
Thread and Batting Choices
- Thread: 100% cotton (like Aurifil 50wt) ensures soft drape and blends well.
- Batting: Cotton or wool (e.g., Hobbs) holds stitches beautifully and doesn’t stiffen with dense quilting.
Why It Matters: Natural fibers keep sashing soft over time, even with heavy FMQ.
Essential Tools
- Walking Foot: For straight-line quilting and grid alignment.
- Open-Toe Darning Foot: Offers maximum visibility for FMQ.
- Disappearing Ink Pen: Critical for precision alignment.
- Hera Marker: For creasing or marking straight lines without residue.
- Small Ruler: For placing alignment marks accurately.
Tool Hack: Use a small quilting glove to stabilize your hand and reduce fatigue during long sashing sessions.
Real Quilt Examples and Inspiration

“Saturday Surprise” Criss-Cross Sashing
Lorna’s 2012 BOM quilt used criss-cross sashing with red and mint green strips to create a woven effect around on-point blocks.
- Visual Impact: The two-tone sashing became part of the design, not just a separator.
- Lesson: Contrast in sashing can create a secondary pattern.
Color Tip: Cool sashing (mint, blue) calms warm blocks (red, orange).
“Parfait” Quilt: Sashing for High Block Count
With 160 small blocks, the “Parfait” quilt relied on sashing to prevent visual overload.
- Function: White sashing gave each block room to breathe.
- Quilting: Loops and meanders in sashing tied the spring-colored blocks together.
Takeaway: More blocks mean a greater need for sashing.
Krista Moser’s Scrappy Baby Quilt
Built from 42 pre-cut 2.5″ scraps, this quilt used framed blocks with striped borders, then 2.5″ white sashing.
- Technique: Disappearing ink method ensured perfect alignment.
- Outcome: A cohesive, modern scrap quilt from random pieces.
Scrap Strategy: Sort scraps by color before framing for intentional variety.
Maintain Durability and a Clean Finish
Press Seams Toward Sashing
This simple step reduces bulk at intersections, helping the quilt lie flat.
- Why: When vertical and horizontal sashing meet, seam allowances stack. Pressing toward sashing spreads them apart.
- Result: Crisp grid, no puckering.
Choose Pause-Friendly Designs
FMQ designs like wishbones or back and forth allow you to stop mid-strip, move to another section, and resume cleanly.
- Avoid: Continuous complex designs that require full strip completion.
- Benefit: Reduces fatigue and errors.
Use Foot-Guided Quilting
Focus on the edge of the foot, not the needle. This small shift in focus prevents visible gaps or crowding near sashing edges.
- Outcome: Consistent, professional spacing, even for beginners.
Frequently Asked Questions About Quilt Sashing Ideas
What is the best sashing width for a beginner?
A 2.5″ width is ideal for beginners. It provides enough space for simple quilting designs like back-and-forth stitching or loops without feeling cramped. Narrower sashing (under 1.5″) requires more advanced motifs and precise control.
Can I mix solid and scrappy sashing in the same quilt?
Yes, mixing styles creates visual interest. Use solid sashing for outer borders or main grid lines, and reserve scrappy sashing for inner sections or accent strips. Keep colors within the same family for cohesion.
How do I prevent sashing intersections from puckering?
Press all seams toward the sashing strips to reduce bulk at intersections. When vertical and horizontal sashing meet, this technique spreads the seam allowances apart, keeping the quilt top flat and the grid straight.
What thread works best for quilting sashing?
100% cotton thread, such as Aurifil 50wt, is recommended. It stays soft, drapes well, and blends seamlessly with cotton or wool batting. Avoid heavy threads that can stiffen the quilt with dense quilting.
How do I align sashing perfectly between rows?
Use the disappearing ink method. After completing each row, add a long sashing strip to the top. Mark two tiny dots directly above the vertical seam lines using a disappearing ink pen and small ruler. Match these dots to the seams of the next row before pinning and stitching.
Are there sashing ideas for very narrow strips under 1 inch?
For sashing under 1″ wide, keep designs extremely simple. Straight lines with a walking foot or very small pebbles work best. Avoid complex motifs like feathers or ribbon candy, which require more space to look balanced.
Key Takeaways for Designing Stunning Quilt Sashing
Great quilt sashing ideas do more than separate blocks. They unify, highlight, and elevate your entire design. The most important takeaway is intentionality: choose your sashing style, color, and quilting motif before you start piecing. Consider whether solid, scrappy, or criss-cross sashing best fits your block design, then plan your FMQ pattern to match your skill level.
For assembly, the disappearing ink method eliminates alignment headaches and creates a professional grid. For quilting, foot-guided techniques keep spacing consistent, even when your needle wavers. And for durability, pressing seams toward the sashing and using natural fibers ensures your quilt stays soft and beautiful for years.
Your next step: choose one sashing idea from this guide and try it on a small practice quilt or block. Test the alignment method, experiment with a quilting motif, and see how sashing transforms your design from ordinary to extraordinary.