Imagine sunlight streaming through your window, casting vibrant colors across the room, not from glass but from fabric. A stained glass quilt pattern transforms cotton into luminous art, mimicking the radiant beauty of cathedral windows with thread and color. These quilts use bold hues, precise shapes, and simulated lead lines to create the illusion of light filtering through colored glass.
The magic lies in fabric choice and construction. Batiks and hand-dyed fabrics deliver depth and saturation, while white backing enhances light transmission for wall hangings. Techniques vary, with some quilters using bias tape appliqué to frame each pane and others relying on free-motion quilting to stitch the lead lines directly. In this guide, you will learn how to choose materials, master key techniques, and create a quilt that glows with its own inner light.
Choose the Right Fabric for Luminosity
Select Batiks for Depth and Shine
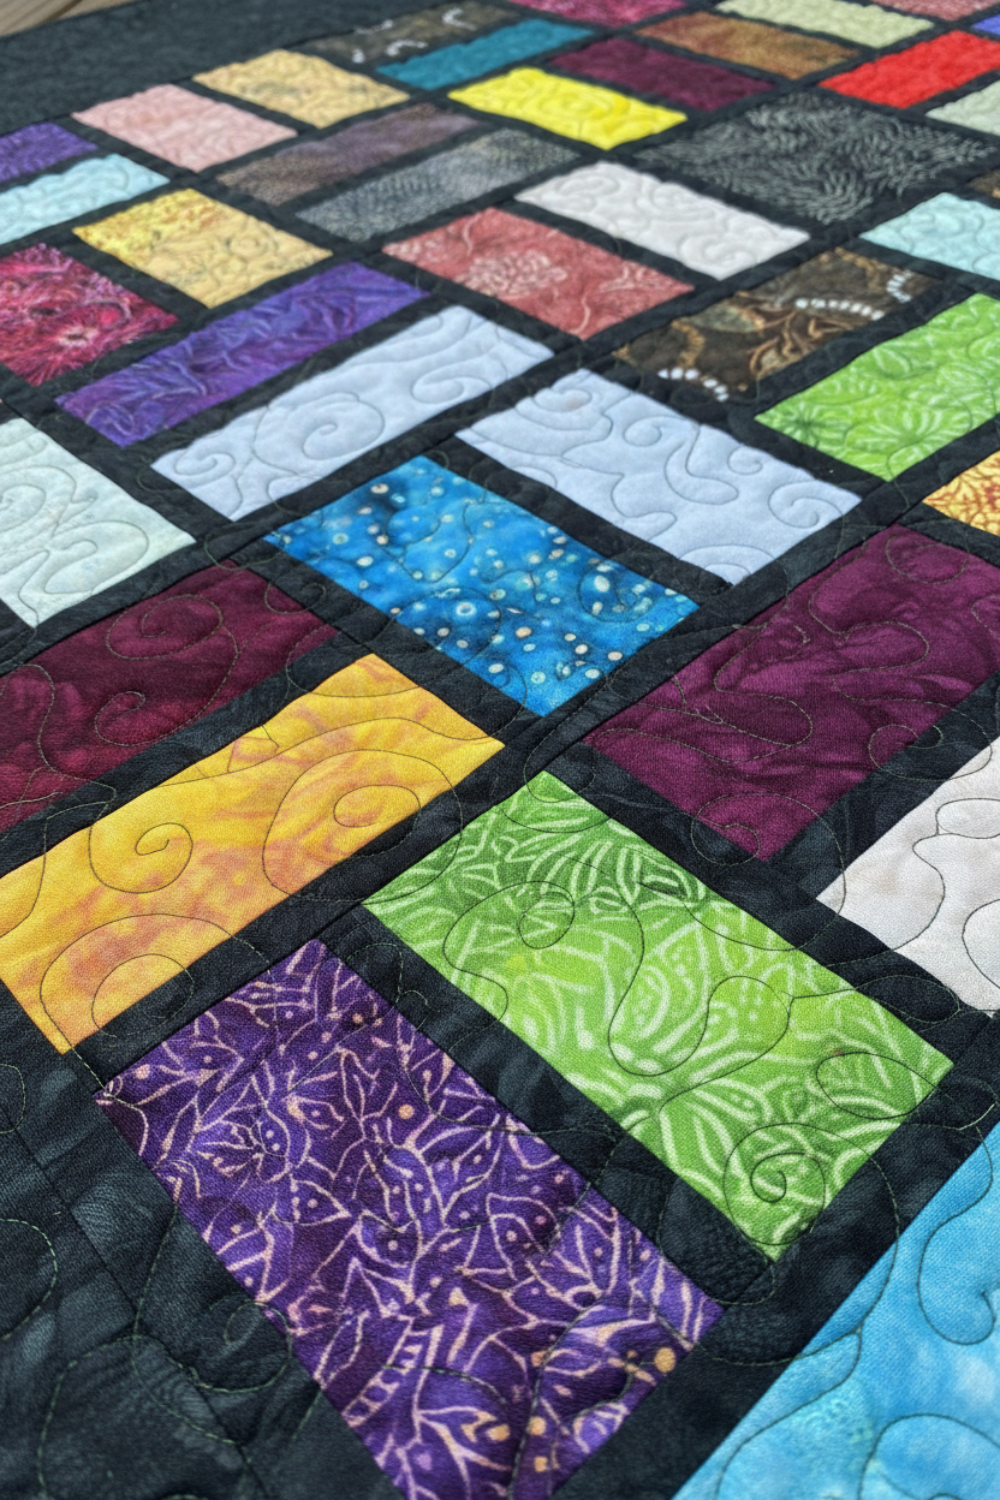
Batik fabrics are the gold standard for stained glass quilt patterns. Their hand-dyed, wax-resist process creates layered colors that mimic the opalescent quality of real stained glass. When light hits a batik, it seems to glow from within rather than simply reflect.
For the most authentic effect, use high-quality batiks with saturated hues in reds, blues, emeralds, and golds. Mixing batiks with solid fabrics can work, but ensure the solids have a similar sheen to avoid dull patches.
Avoid flat, printed cottons unless they are specifically designed to mimic batik depth. The goal is to create variation within each pane so no two areas look exactly the same, just like real glass.
Use White Backing for Window Light
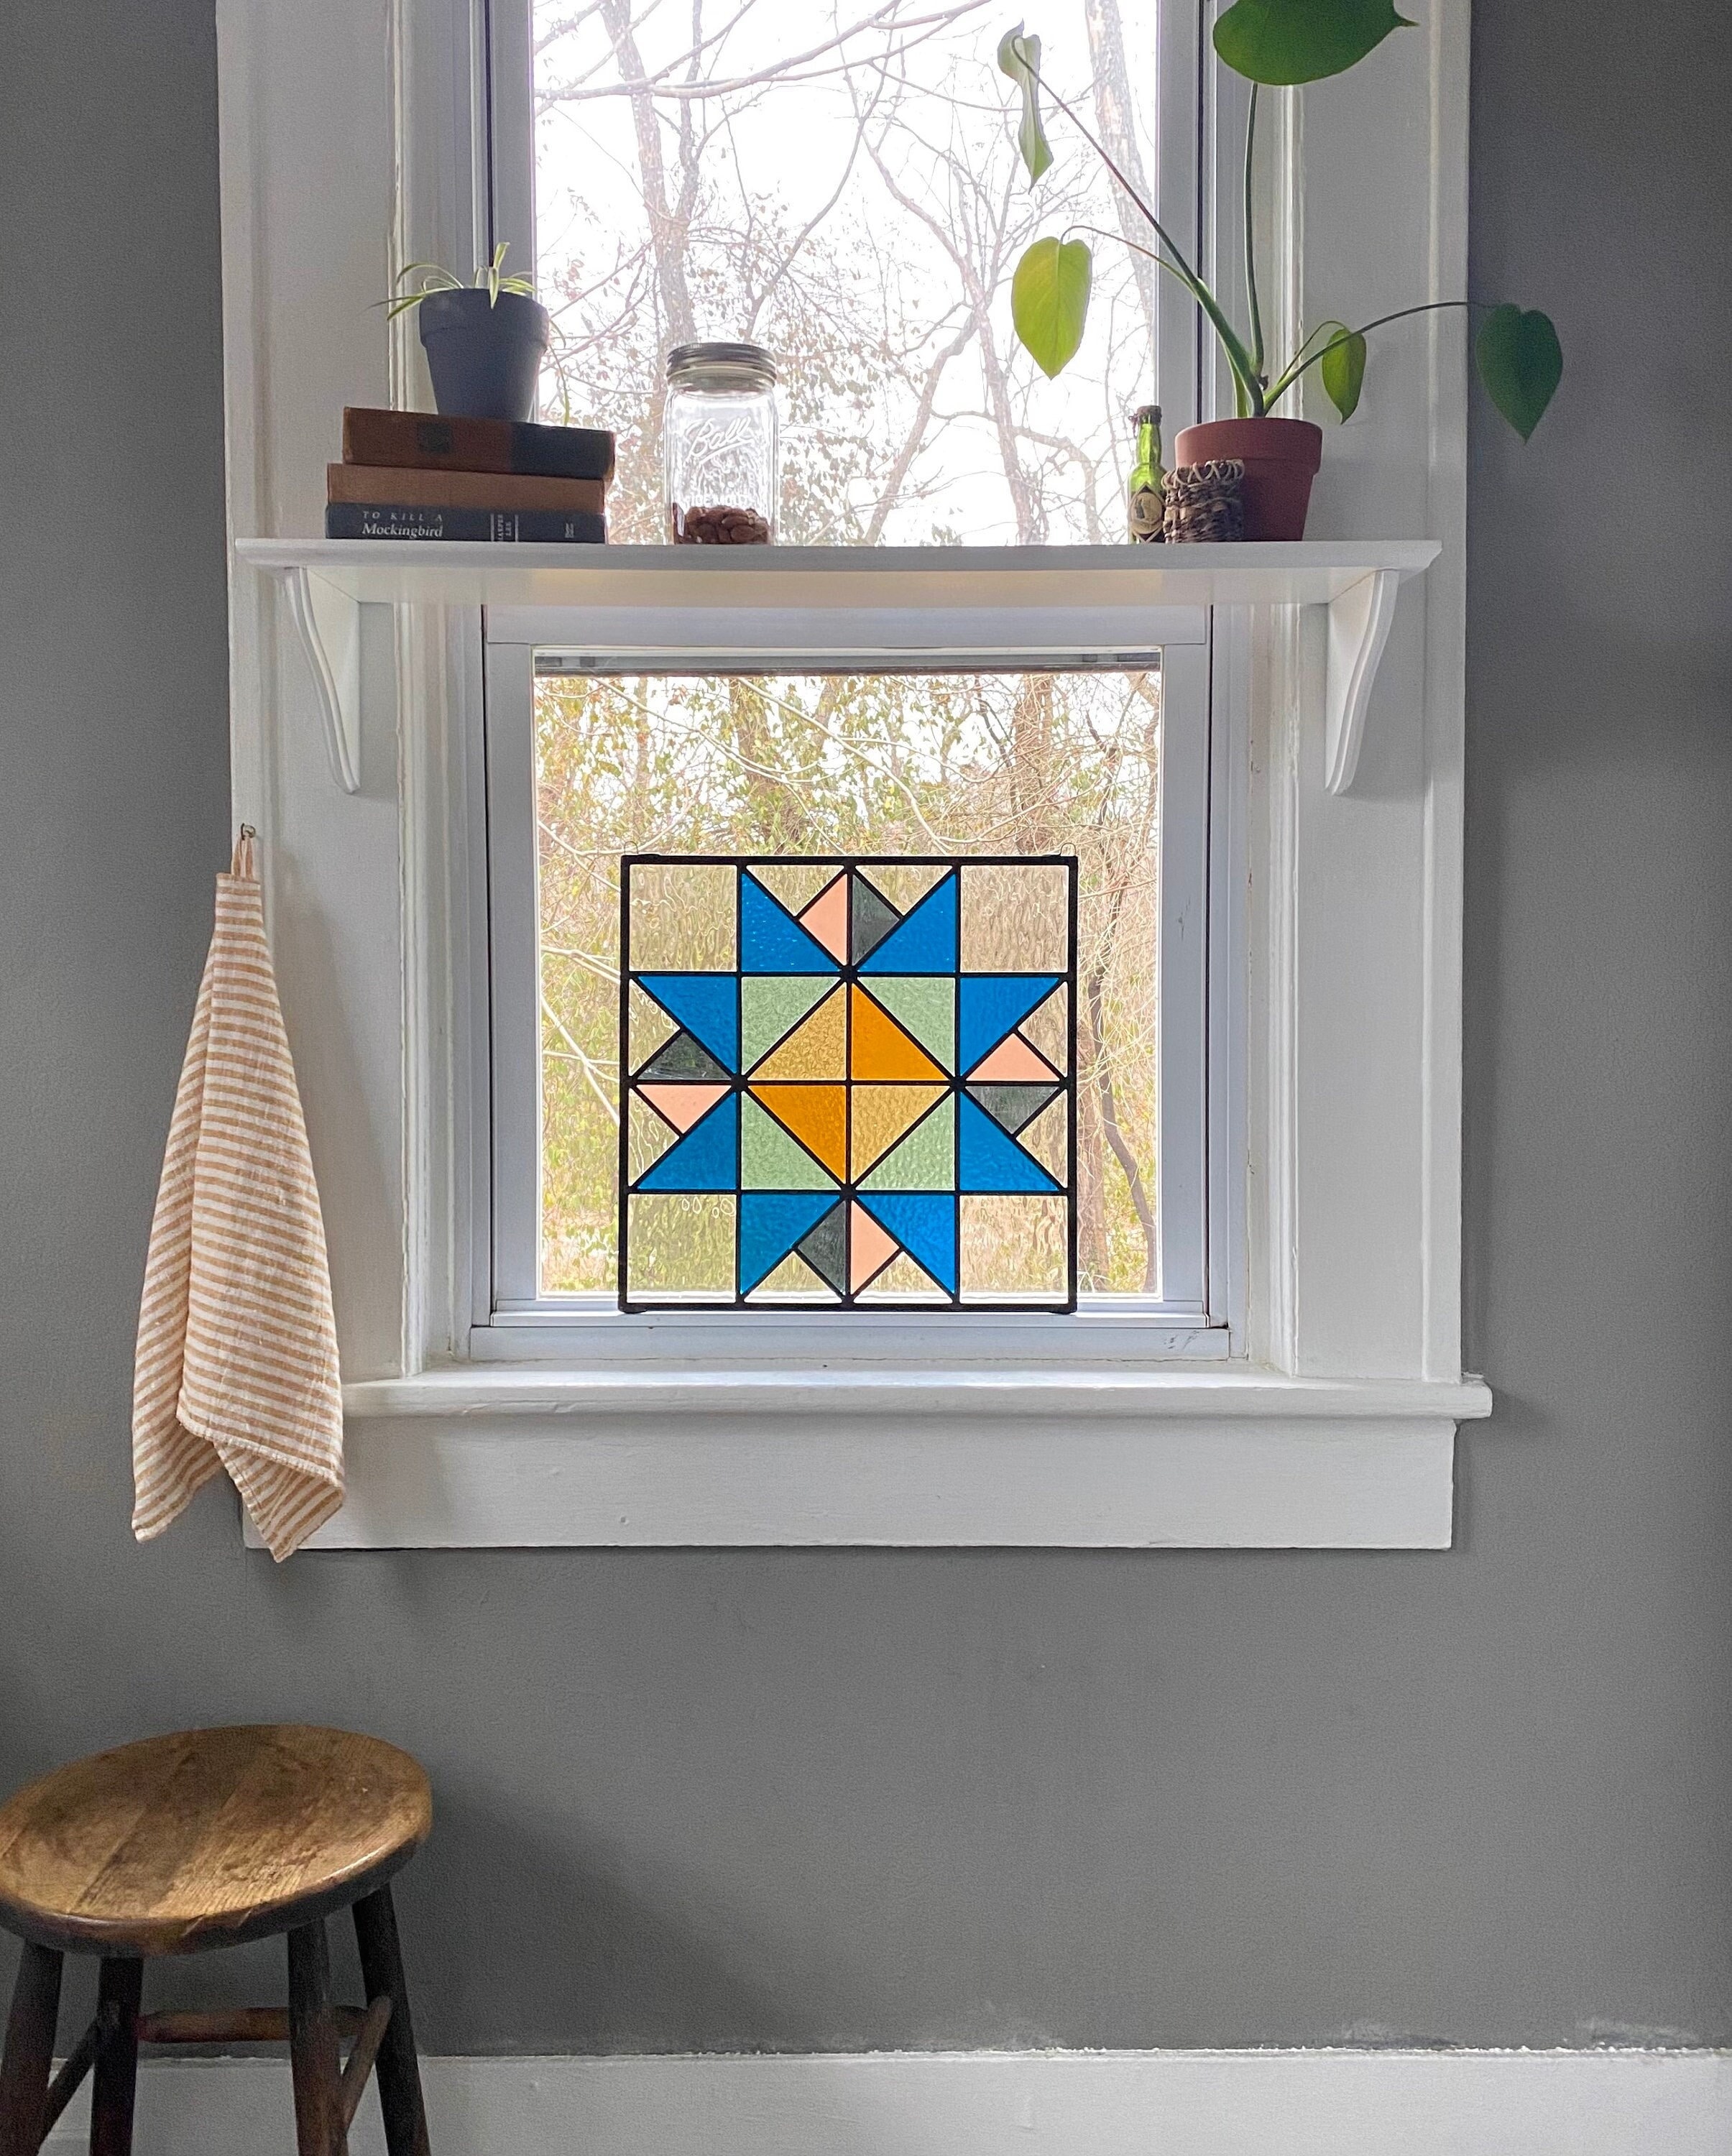
If your quilt is meant to hang in a window, white backing is essential. It acts like a diffuser, allowing sunlight to pass through the top layer and reflect back, enhancing color vibrancy. This technique was famously used by quilters inspired by Kaffe Fassett, whose quilts come alive when backlit.
For bed quilts or throws, a neutral solid backing like cream or gray provides contrast and warmth without sacrificing durability. But for true stained glass effect, always opt for white when displaying near light sources.
Mix Textures for Realism
To avoid a flat appearance, combine different fabric textures. Pair a smooth batik with a subtly patterned hand-dyed fabric, such as those from Ricky Tims’ line, to add dimension. Even within dark lead areas, consider using a dark batik instead of solid black to maintain visual interest.
Never use all solids. The interplay of texture is what sells the illusion of glass.
Master the Appliqué with Bias Tape
Apply Bias Tape for Lead Lines
The stained glass appliqué method is one of the most popular techniques because it is fast, forgiving, and delivers crisp results. Instead of piecing shapes together, you layer fabric panes on a background and cover the raw edges with black bias tape, simulating the lead cames in real stained glass.
Start by cutting your fabric shapes and arranging them on the background. Fuse them in place with fusible web if desired. Then, take store-bought black bias tape with a ½ inch width and press it over each seam, covering the raw edges completely.
Perfect Corner Crossovers

When two bias strips meet at a corner, alignment is critical. Do not butt the ends together. Instead, place the second strip directly on top of the first, overlapping at the intersection. Press it straight over the top to keep the line perfectly straight and eliminate visible gaps.