
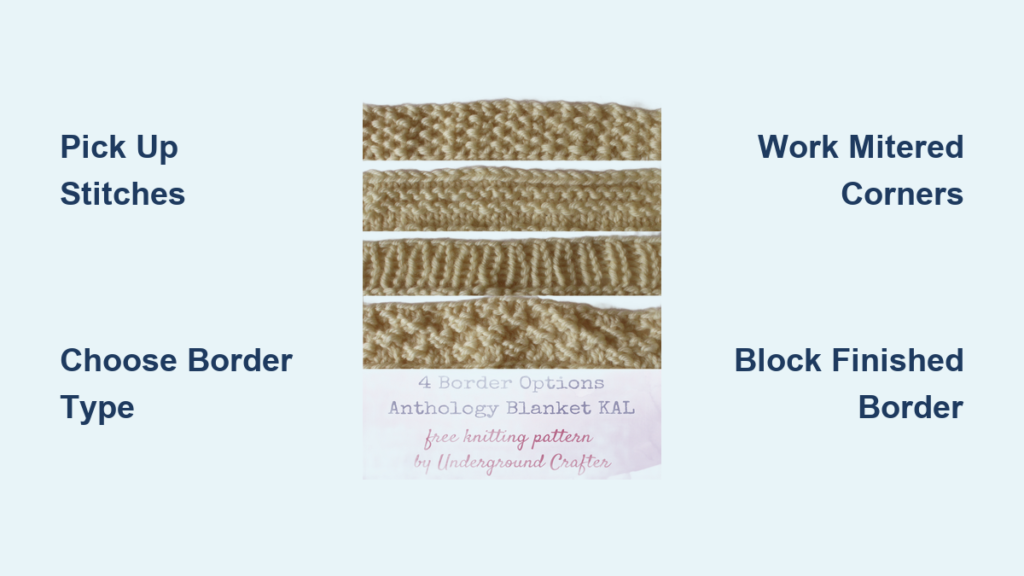
Adding a knit border on a blanket transforms a simple project into a polished, finished piece. Whether your blanket is already complete or still in progress, a well-chosen border enhances structure, prevents curling, and frames your design with professional flair. From garter stitch trims to intricate mitered corners and textured edgings like seed or bobbles, the right border unifies the piece and elevates the overall look. This guide walks you through every essential step: selecting the best technique, picking up stitches evenly, working clean corners, and finishing with precision.
Choose the Right Border Type for Your Blanket

Selecting a border depends on your blanket’s stitch pattern, construction, and desired look. Some borders prevent curling; others add texture or color contrast. Match the technique to your needs.
Match Border to Blanket Stitch
Stockinette blankets curl at the edges, so use garter, seed, or ribbed borders to counteract this. Garter stitch blankets are stable but benefit from contrasting textured borders for definition. Modular or seamed blankets like granny squares hide joins with applied moss or I-cord trims. Fair Isle or colorwork looks sharp with corrugated ribbing for clean, non-stretch framing.
Pick Based on Skill Level
For beginners, garter stitch, simple looped, or K2P2 rib borders work best. Intermediate knitters can tackle moss or seed stitch, applied I-cord, or mitered garter corners. Advanced techniques include double seed, bobble edging, or integrated colorwork borders.
Pro Tip: Test your chosen border on a swatch first. It reveals tension issues and helps estimate yarn usage.
Pick Up Stitches Evenly Along Blanket Edges
Even stitch pickup ensures a smooth, flat border. Work with the right side facing unless specified. Use a circular needle to handle long edges comfortably.
Along Top and Bottom Edges
These are cast-on and bind-off edges. Pick up one stitch per original stitch. Insert the needle into the horizontal bumps along the edge. For garter stitch, pick up in the troughs between ridges for alignment. Start at one corner and work toward the next. Add one extra stitch at each corner to prevent gaps, then decrease it in the first row.
Along Side Edges
These run along the selvedge. Look for vertical V shapes of knit stitches. Insert the needle under the bar between each ridge. On stockinette, use a 3:4 ratio—pick up 3 stitches for every 4 rows to avoid flaring. Avoid picking up between color changes in stripes, as distortion can occur.
Fix Puckering or Flaring: Too tight? Pick up more stitches. Too loose? Use fewer. Adjust as you go.
Knit a Garter Stitch Border
Garter stitch is ideal for beginners and stockinette blankets. It lies flat, adds stability, and creates a clean frame.
Apply After Completion
Pick up stitches evenly along one edge with right side facing. Knit every row for 15 to 30 rows depending on blanket size. Baby blankets need 15 to 20 rows; throws and large blankets need 20 to 30 rows. Bind off knitwise when complete.
Integrate During Knitting
Add border as you work the main piece. Cast on center stitches plus 6 (3 border stitches per side). Every row, knit the first and last 3 stitches while working the main pattern in the center. Bind off all stitches in pattern when finished.
Why It Works: Knitting every row on the edges balances tension and prevents curl.
Create Professional Mitered Corners

Mitered corners give a sharp, professional finish. This technique works best with garter stitch applied borders.
Knit Increases for Depth
Build triangular depth before seaming. On the wrong side, KFB on the first stitch, knit to the last stitch, then KFB on the last stitch. On the right side, knit all stitches. Repeat until border reaches desired width. Cast off on a right-side row to maintain symmetry.
Seam Corners Diagonally
After completing all four borders, thread the tail onto a tapestry needle. Start at the corner and sew through the gap between the first two ridges of adjacent edges. Alternate going up one ridge on the first side and down one on the second, creating a ladder effect. Continue until all ridges meet at 45 degrees. Pull tight to form a crisp miter, then secure with a double knot and weave in ends.
Pro Tip: Lightly block the blanket before seaming. It stabilizes the fabric and ensures even tension.
Add Seed or Moss Stitch for Texture
These reversible, textured borders lie flat and work well on seamed or modular blankets.
Seed Stitch Applied Border
Row 1 (right side): K1, P1 across the row. Row 2 (wrong side): P1, K1 across the row. Repeat these two rows for 1 to 2 inches, then bind off in pattern. Seed stitch works best for reversible blankets needing subtle texture.
Moss Stitch Border Technique
Moss stitch is ideal for hiding seams in square blankets. Pick up 5 stitches at the corner, leaving a 6-inch tail. Work Row 1: slip 1 knitwise, K1, P1, K1. Work Row 2: slip 1 purlwise with yarn in front, K1, P1, K1, P1. Repeat Row 1. After the last stitch, knit the next edge loop together with the last stitch to anchor the border. At the corner, knit 5 extra rows to form a tab. Bind off, pick up 3 stitches plus the loop for the next side, and resume the pattern from Row 2. After the final side, knit 5 more rows, bind off, and sew the corner flat with both tails.
Work a Ribbed Border for Structure
Ribbed edges are elastic and structured, perfect for blankets that must lie flat.
Apply K2P2 Rib Border
Pick up stitches in multiples of 4. Every row, work K2, P2 across. Bind off in rib pattern (knit knit, purl purl) for stretch.
Integrate Rib During Knitting
For seamless construction, cast on a multiple of 4 plus 24 stitches. Work K2, P2 across the entire row for the first 13 rows. On right-side rows, work the 12 border stitches in rib while the main pattern continues in the center. On wrong-side rows, purl the 12 border stitches. Repeat until desired length, then work the final 13 rows in K2, P2 across. Bind off in rib.
Why 12 Stitches?: Ensures full K2P2 repeats without cutting off partial patterns.
Try Decorative Edgings
Elevate your blanket with texture or color. These borders stand out and add personality.
I-Cord Trim
I-cord creates a smooth, modern cord that hides ends. Pick up a multiple of stitches. On the wrong side, knit to 3 stitches from the end and slip them with yarn in front. On the right side, with contrast color, knit 3, then knit to the end with main color. Repeat these rows, twisting yarns at color changes. For the I-cord cast-off, knit 2, K2tog, slip 2 back to left needle. Repeat until all stitches are gone, forming a live-loop I-cord tube.
Tip: Use smaller needles for tighter, neater cord.
Bobble Edging
Bobble edging adds playful, 3D texture ideal for baby blankets. Pick up multiple of 3 stitches. Knit 2 rows. On the bobble cast-off row, cast off the first stitch. Make a bobble by knitting front and back of the next stitch 5 times, then pass the first 5 loops over the first loop and off. Cast off 2 stitches. Repeat to the end and fasten off.
Customize: Adjust bobble size or spacing. Practice on a swatch first.
Corrugated Ribbing
This two-color edge adds color-defined texture without stretch, great for Fair Isle. Row 1: K1 in Color A, P1 in Color B. Row 2: K1 in Color B, P1 in Color A. Always float yarns loosely to avoid puckering and twist at color changes.
Finish and Block the Blanket
Final steps ensure durability, evenness, and a professional look.
Weave in All Ends
Use a tapestry needle. Run yarn through stitches on the wrong side. Weave in opposing directions for security. Trim close after securing.
Pro Tip: Weave in ends as you go when using multiple colors.
Block to Set Shape
Blocking evens tension, opens stitch patterns, and squares corners. Wet block or spray block the entire blanket. Lay flat on a clean towel or blocking mat. Pin edges straight and corners at 90 degrees. For mitered borders, pin diagonally to shape 45-degree corners. Let dry completely before removing pins.
Avoid Common Border Mistakes
Even experienced knitters face issues. Know how to fix them early.
Puckered or Tight Edges
This happens when too few stitches are picked up. Unpick and re-pick with more stitches. Use the 3:4 ratio on vertical edges.
Wavy or Flared Edges
Too many stitches cause flaring. Reduce pickup count and aim for one stitch per ridge on horizontal edges.
Gaps at Corners
Missing corner stitches create gaps. Pick up one extra stitch at each corner and decrease it in the first row.
Curling Border
Using a stockinette-only border causes curling. Add a garter or seed stitch outer edge, or block thoroughly.
Frequently Asked Questions About Knitting a Border on a Blanket
What is the easiest border to knit for a beginner?
Garter stitch borders are the easiest for beginners. They lie flat, require only knit stitches every row, and effectively prevent curling on stockinette blankets. Simply pick up stitches along the edge and knit every row until reaching desired width.
How do I prevent my border from puckering?
Puckering happens when too few stitches are picked up along the edge. Use a 3:4 ratio on vertical edges (3 stitches for every 4 rows). On horizontal edges, pick up one stitch per ridge. If puckering persists, unpick the border and re-pick with more stitches.
Should I pick up stitches before or after blocking?
Pick up stitches after the blanket is complete but before final blocking. This allows you to see the true dimensions and tension of the fabric. Block the entire piece after attaching the border for the cleanest finish.
How do I match border yarn to my blanket?
Use yarn that matches the weight of your main blanket yarn. Same-color yarn creates a seamless look, while contrasting yarn highlights the border and adds definition. Always purchase slightly more border yarn than calculated, as borders on large blankets require significant yardage.
Can I add a border to a blanket already knitted?
Yes. Applied borders are added after completion. Simply pick up stitches along each edge, work your chosen border pattern, and seam the corners. This method allows for color contrast and works with any blanket already knitted.
Key Takeaways for Knitting a Beautiful Blanket Border
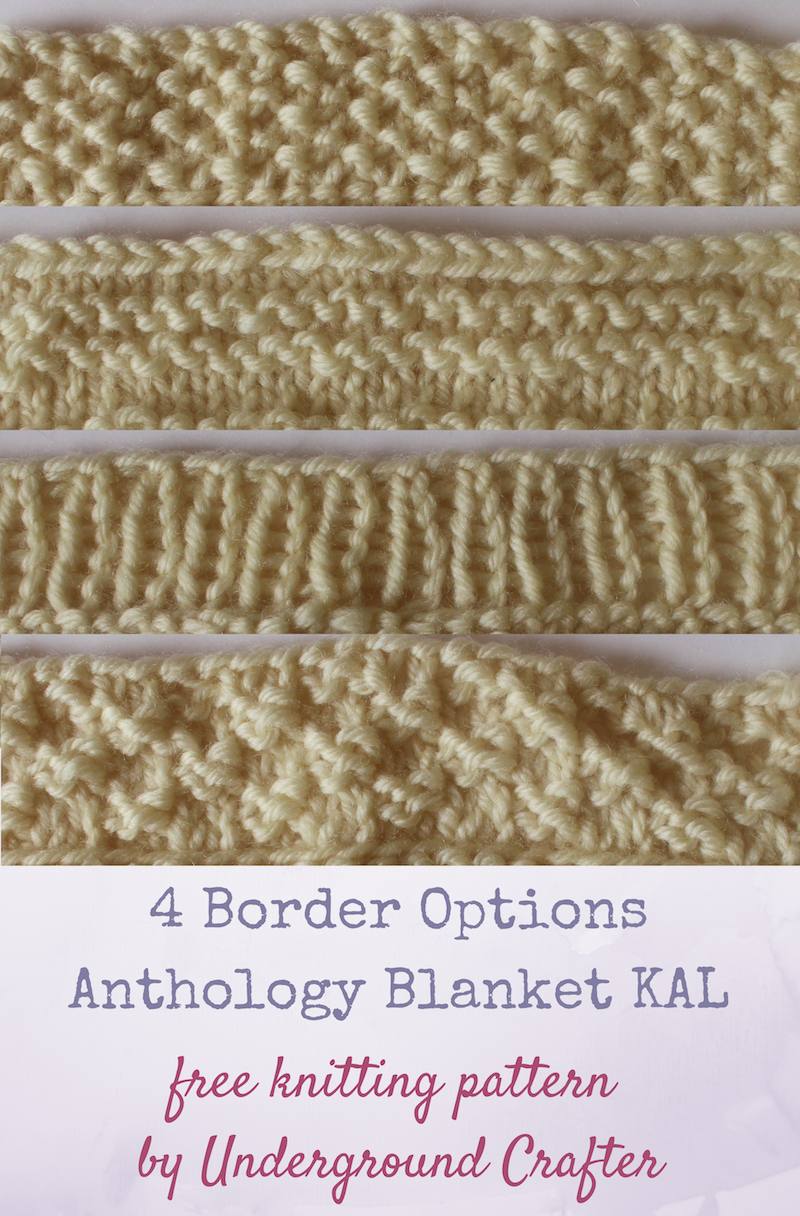
A well-knit border turns a handmade blanket into a refined heirloom. The most important steps are picking up stitches evenly using the correct ratio for each edge type, choosing a border type that complements your blanket’s stitch pattern, and working consistent rows to maintain uniform depth on all four sides. Whether you choose a simple garter trim or a bold bobble edge, the key is even stitches, clean corners, and thorough blocking. Use stitch markers, test on swatches, and weave in ends securely for a professional finish. With these techniques, you can confidently knit a border on any blanket, transforming your work into a finished, professional-looking piece.

