
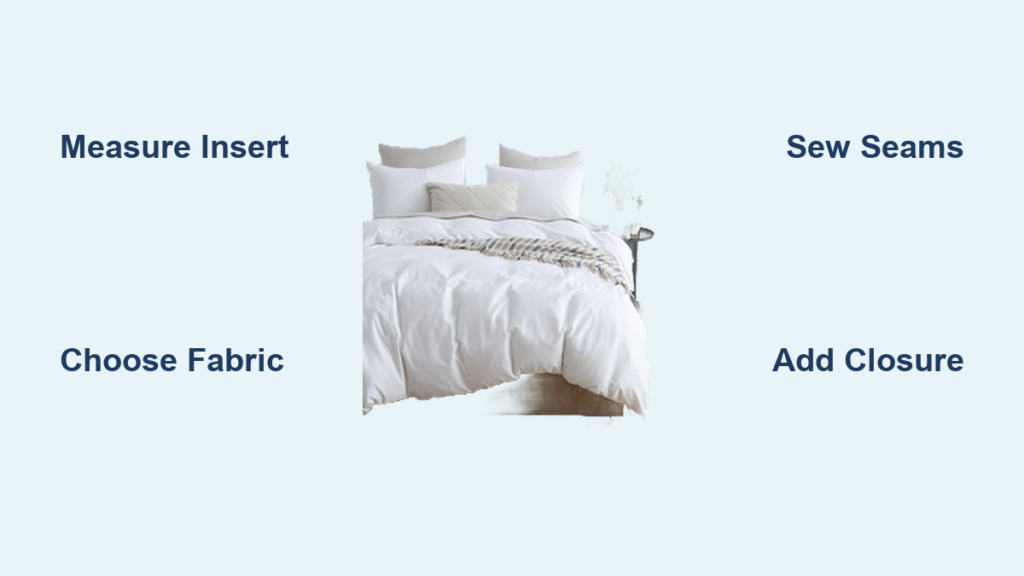
Making your own blanket cover gives you complete control over fit, fabric, and design while saving money compared to store-bought options. A blanket cover, more commonly called a duvet cover, is a removable fabric sleeve that protects your insert and adds style to your bedroom. This guide walks you through measuring, cutting, sewing, and finishing your cover for a professional result.
Whether you are repurposing old sheets or working with fresh yardage, the process is straightforward for anyone with basic sewing skills. You will learn how to choose the right materials, construct durable seams, install secure closures, and add finishing touches that elevate your handmade piece.
Measure Your Duvet Insert Correctly
Determine Exact Dimensions
Start by measuring your actual duvet or comforter. Standard sizes vary between brands, so always measure your specific insert rather than relying on labels. Use a tape measure to record the width and length of your insert when laid flat. Squeeze the duvet gently to simulate its fluffed state, which gives a more accurate measurement for the final fit.
Choose Your Preferred Fit Style
Select a fit that matches your aesthetic and practical needs. A snug fit adds 2 inches smaller than the insert for a puffy, full appearance that prevents shifting. Standard fit adds 2 to 3 inches for easy insertion and a clean drape. Oversized hotel-style fit adds 4 or more inches for a loose, luxurious look.
Reference Standard Sizing Charts
If you do not have an insert yet, use these common dimensions as a baseline. Add your chosen fit allowance plus seam allowances when calculating fabric needs.
| Bed Size | Insert Size (inches) | Cover Size (inches) |
|---|---|---|
| Twin | 66 × 86 | 68 × 89 |
| Full/Double | 80 × 86 | 82 × 89 |
| Queen | 90 × 90 | 92 × 93 |
| King | 104 × 90 | 106 × 93 |
| California King | 100 × 96 | 102 × 99 |
Always include a half-inch seam allowance per side when cutting your fabric.
Select the Best Fabric for Your Blanket Cover
Evaluate Fabric Types
Choose breathable, durable, and washable materials. Cotton broadcloth and quilting cotton are easy to work with and soft against skin, making them ideal for beginners. Linen offers natural cooling and gets softer with each wash, perfect for warm climates. Pima and Supima cotton provide superior softness and resistance to pilling. Fleece and minky fabric are ultra-soft and warm, requiring no hemming since they do not fray.
Consider Repurposing Flat Sheets
Save time by using two matching flat sheets as your fabric source. Ensure each sheet is at least 4 inches wider and longer than your insert. Pre-hemmed edges reduce your sewing workload, and you can cut one sheet into the front panel, back panel, and envelope flap if using that closure style.
Pre-Wash All Materials
Wash and dry your fabric before cutting to prevent shrinkage after construction. Treat the fabric exactly as you plan to launder the finished cover. Test a small swatch first if using decorative or drapery fabrics, as some have chemical finishes that wash out or change texture.
Cut and Join Your Fabric Panels
Cut Panels to Size
Lay your fabric flat on a clean surface with the right side facing down. Use a rotary cutter, ruler, and cutting mat for straight, precise edges. Cut two rectangles for your front and back panels using your final cover dimensions plus seam allowances. If using sheets, trim to match and use the selvedge edges as straight guides.
Join Panels for Wider Fabric
If your fabric is not wide enough for your cover size, assemble a wider panel. Cut a center panel from the full fabric width. Calculate side panel width by subtracting the center width from your total width, then adding 2 inches for seam allowances. Sew side panels to the center using half-inch seams with right sides together, then press seams open.
Create a Patchwork Design
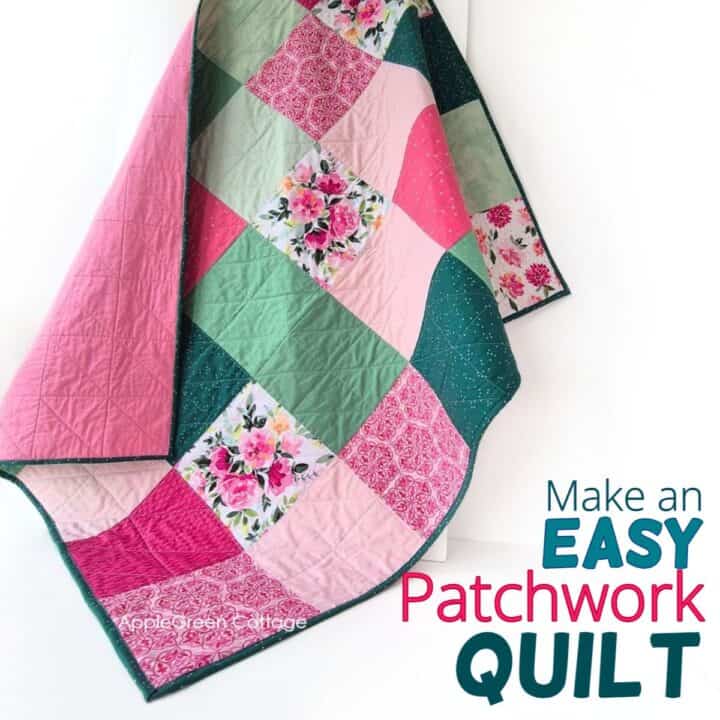
Turn fabric scraps into a unique cover by cutting pieces into squares or strips at least 6 inches square. Arrange your layout on the floor or design wall. Sew pieces into rows with half-inch seams, pressing seams open. Join rows together and press, then trim to your final dimensions. Serge or zigzag raw edges before sewing to prevent fraying.
Sew Professional-Quality Seams
Use French Seams for a Polished Interior
French seams enclose raw edges for a clean finish inside your cover, ideal for lightweight fabrics like linen or cotton. Place panels wrong sides together and sew three sides with a quarter-inch seam allowance. Trim the seam to one-eighth inch. Turn right side out so the seam is now enclosed, press flat, then sew the same edges again with a three-quarter-inch seam allowance that encases the first seam.
Finish Standard Seams Properly
For medium to heavy fabrics, sew three sides with a half-inch seam allowance. Finish raw edges with a serger for the cleanest result, or use a zigzag stitch set to 2 to 3 millimeters wide on a regular machine. Clip corners diagonally to reduce bulk when turning the cover right side out, leaving at least a quarter-inch from the stitching line.
Handle Fleece and Minky Carefully
Plush fabrics like fleece and minky do not fray, so they require different techniques. Use a walking foot to prevent stretching during sewing. Pin or spray baste layers to stop shifting. Sew with half-inch seams using right sides together, and press with low heat and a pressing cloth to protect the fibers. Use a stretch or ballpoint needle to avoid skipped stitches.
Install Your Chosen Closure

Add a Zipper for Professional Results
A nylon coil zipper provides durability and lies flat through repeated washing. Choose the bottom short edge for installation. Fold and press the edge half an inch twice, then topstitch to create a clean finish. Mark 12 inches in from each side on both front and back panels. Pin the hidden zipper face down across the marks, right side of fabric, and use a zipper foot to stitch close to the teeth. Flip the fabric, align the second side, and stitch. Topstitch both sides of the zipper tape and reinforce ends with 4 to 5 backstitches. Keep the zipper open during assembly so you can turn the cover right side out.
Try an Envelope Flap for Simplicity
The envelope flap closure uses part of a flat sheet for a no-zipper solution that works well for beginners. Cut an envelope flap 16 inches tall by the cover width. Cut the back panel from the remaining sheet, ensuring an 8-inch overlap. Finish one short edge of the back panel with a double fold and stitching. Place the flap on the cover front with right sides together and raw edges aligned, stitching only across the top. Fold the flap down, then pin the back panel over it with about 6 inches of overlap. Sew around three sides with a half-inch seam allowance.
Sew Buttons for a Classic Look
Create a vintage-inspired closure by hemming one panel edge. Fold the edge half an inch, press, fold again half an inch, and edgestitch. On the opposite panel, mark buttonhole positions and apply interfacing or Fray-Check behind each mark. Sew buttonholes using your machine setting, then cut open with a seam ripper. Sew buttons on the hemmed panel, aligning with buttonholes. For a 90-inch opening, use 7 to 9 buttons spaced 8 to 12 inches apart.
Use Snap Tape or Velcro as Alternatives
Snap tape provides a secure closure without a zipper. Sew three 8-inch strips to the back panel and envelope flap using a zigzag stitch. Velcro is less durable but easy to install, best for temporary or decorative use.
Add Internal Ties to Prevent Shifting
Sew Corner Ties Securely
Keep your duvet from sliding inside the cover by adding ties at each corner. Cut four strips of fabric or ribbon measuring 2 and a half inches by 16 inches. Fold each strip lengthwise and press, then fold raw edges inward and press again. Topstitch down both sides and one end to create closed ties. Baste one tie into each inside corner of the cover, aligned with side seams. For larger beds like king and California king sizes, add two central ties along the length for extra security.
Use Snap Anchors as an Alternative
Sew small snaps in each corner. Attach one half to the inside of the cover and the other half to the corners of your duvet insert. Snap them together after inserting the duvet. As a temporary solution, use safety pins to pin duvet corners to the cover, wrapping tape around pin heads to prevent them from opening.
Assemble Your Complete Cover
Pin and Sew Panels Together
Place front and back panels right sides together and pin around three sides if your zipper is already installed, or all four sides for other closures. Stitch with a half-inch seam allowance. Clip corners diagonally to reduce bulk, then turn the cover right side out by pulling corners through with a turning tool or chopstick. Insert your duvet to test the fit before final pressing.
Press for a Crisp Finish
Use a hot iron appropriate for your fabric type to smooth seams flat and square off corners. Remove any puckers or wrinkles. Press the entire cover inside out first, then right side out for a hotel-quality appearance.
Perform Final Checks
Test your zipper or closure operation to ensure smooth opening and closing. Verify that all ties are secure and properly attached. Consider adding a small fabric tag to label the front and back if needed.
Customize Your Design
Make It Reversible
Create a dual-purpose cover by using two different fabrics, one for each side. Pair a floral print for spring with a solid flannel for winter, or swap sides based on your mood or season.
Add Decorative Edging
Enhance your cover with piping inserted between front and back panels, contrasting binding folded over raw edges, or a narrow flange attached along the seam line before joining panels.
Embellish with Personal Details
Apply appliques using iron-on or sewn fabric shapes like stars or initials. Stitch monograms or motifs through hand or machine embroidery. Use fabric paint with stencils for custom patterns. Apply all embellishments before final assembly for the best results.
Match with Coordinating Pillow Shams
Use leftover fabric to create matching shams. Standard sizes include 20 by 26 inches for queen and 20 by 36 inches for king. Use an envelope closure for easy pillow removal.
Maintain Your Handmade Cover
Follow Proper Washing Guidelines
Machine wash your cover in cold or warm water with mild detergent. Tumble dry on low heat or line dry to prevent shrinkage. Keep the zipper closed during washing to avoid snagging. Turn the cover inside out for gentler cleaning and better color preservation. Avoid high heat with fleece fabrics, as it can melt the fibers.
Extend the Life of Your Cover
French seams and serged edges resist fraying through repeated washing. Nylon zippers outlast metal in frequent washes. Replace snap tape every few years if it loses grip.
Repair Damage Promptly
Fix loose buttons or broken zippers immediately to prevent further damage. Patch small tears with iron-on patches or matching fabric. Keep leftover fabric scraps for future repairs.
Frequently Asked Questions About Making a Blanket Cover
What is the best fabric for beginners making a duvet cover?
Cotton broadcloth or quilting cotton is the best choice for beginners. These fabrics are easy to cut, sew, and press while being durable and machine-washable. Pre-wash your fabric before starting to account for any shrinkage.
How much fabric do I need for a queen-size blanket cover?
For a queen-size cover using 54-inch-wide fabric, you need approximately 5.5 to 6 yards for the front panel and the same amount for the back, totaling around 11 to 12 yards. Using two flat sheets as an alternative reduces fabric costs significantly.
What is the easiest closure method for a homemade duvet cover?
The envelope flap closure is the easiest method for beginners. It requires minimal sewing and uses a portion of a flat sheet to create an overlapping flap that holds the duvet in place without zippers or buttons.
How do I prevent my duvet from sliding inside the cover?
Sew corner ties into the inside of your cover and attach corresponding ties or snaps to your duvet insert corners. This anchoring system keeps the duvet securely in place, even with movement during sleep.
Can I make a blanket cover without a sewing machine?
You can use the triple sheeting hotel-style method that requires no sewing. This technique uses one fitted sheet and two flat sheets to encase your duvet. However, for a permanent sewn cover, a sewing machine produces the most durable results.
Key Takeaways for Making Your Own Blanket Cover
Making a blanket cover is a rewarding project that gives you complete control over fit, fabric, and design while saving money. Focus on accurate measurements of your duvet insert, adding 2 to 3 inches for your preferred fit style plus seam allowances. Choose durable, washable fabrics like cotton or linen, and always pre-wash before cutting to prevent post-construction shrinkage. Install a secure closure that matches your skill level, whether a professional zipper, beginner-friendly envelope flap, or classic button closure. Add corner ties to prevent your duvet from shifting inside the cover. With attention to detail and proper seam construction, your handmade cover will be both functional and beautiful, lasting for years to come.

