
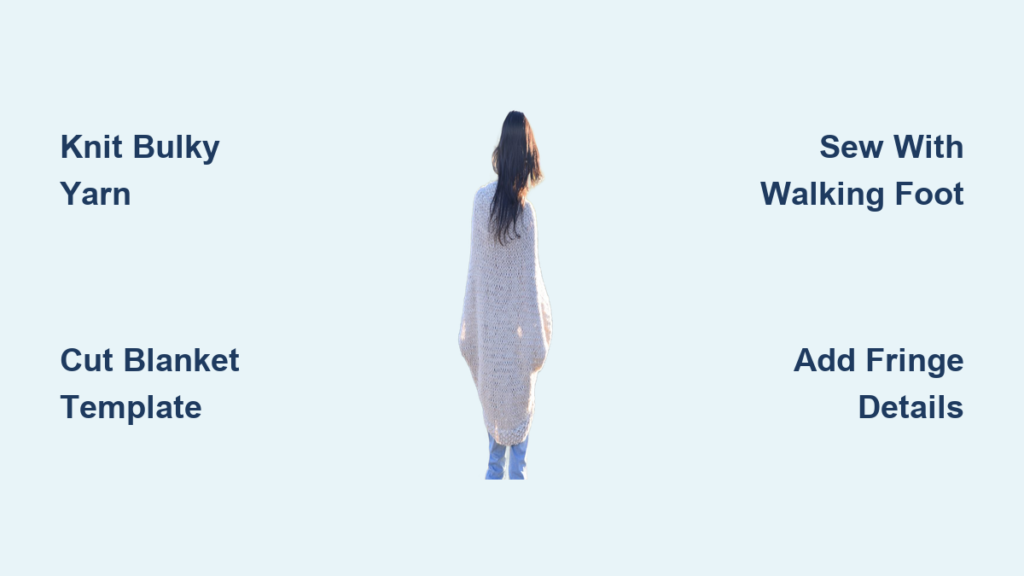
You’ve seen them everywhere—oversized, cozy, impossibly soft blanket sweaters that look like you wrapped yourself in your favorite throw and called it fashion. The good news? You can make one yourself, even if you’re a beginner. Whether you love knitting, repurposing old materials, or sewing with fleece, there’s a method that fits your skill level and style.
This guide covers four proven ways to make a blanket sweater, from knitting a drapey cocoon cardigan to transforming a vintage wool blanket into a structured hoodie-style piece. Each approach uses accessible tools and materials with clear steps and pro tips to avoid common mistakes.
Knit a Blanket Sweater from Scratch

Turn bulky yarn into a loose, drapey cardigan that feels like wearing a hug. This method is ideal for knitters who want full control over color, fit, and texture.
Gather Your Materials and Tools
You will need eight skeins of bulky yarn, holding two strands together throughout for extra warmth and thickness. Lion Brand Woolspun or Color Made Easy works well for this project. Use US 19 (15mm) circular needles, preferably 29 inches long. Gather two to three 1¼-inch buttons, a tapestry needle, scissors, and sewing needle with thread.
✅ Pre-wash your yarn if needed. Avoid pulling too tight—this fabric should drape, not stretch.
Cast On and Establish the Hem
Loosely cast on 73 stitches using two strands of yarn held together. Knit the first row to establish the base. Work six rows of seed stitch (K1, P1 across) to form a non-curling hem. Row 2 and all odd rows repeat K1, P1. Rows 3 through 7 repeat Row 2.
Build the Main Body
Switch to stockinette stitch for the body. Row 8: knit all stitches. Row 9: purl all stitches. Repeat these two rows until the stockinette section measures 29 inches from the start of that section. This creates approximately 73 rows.
✅ The fabric will stretch 10-15% vertically when worn—account for this drape when measuring.
Finish the Neckline Band
Work another six rows of seed stitch to create a clean top edge. Bind off using a knit stitch for flexibility. Weave in all ends with a tapestry needle. This band can be folded outward later to form a collar if desired.
Form Armholes and Seam the Sides
Lay the finished rectangle flat lengthwise. Fold each top corner diagonally inward about 7.5 inches to create arm openings. Pin in place and seam the folded edges. Use whip stitch for seed stitch areas (low bulk) and mattress stitch for the center stockinette area (invisible finish).
💡 Mattress stitch pulls seams flat and creates a polished, professional look.
Attach Buttons for Closure
Attach two to three buttons to one front edge (the seed stitch band side). Place the lower button approximately 9 inches from the top edge. Position the upper button about 2 inches above the lower button. Add a third button for larger frames or tighter closure. The buttons slip through loose stitches—no buttonholes needed.
Turn a Vintage Blanket into a Cardigan
Transform a thrifted wool or fleece blanket into a stylish, fringe-edged cardigan. This method is perfect for upcycling lovers and sewers who enjoy vintage flair.
Select the Right Blanket
Choose a blanket at least 45 by 68 inches to fit most adult sizes. Look for soft wool or wool-blend fabric with intact fringe on all edges. Check for minimal stains or wear. Thrift stores, estate sales, and online marketplaces like Etsy are excellent sources.
✅ Fold the blanket lengthwise so fringe remains on outer edges (cuffs, hem, pocket).
Create Your Pattern
Place a well-fitting sweatshirt on the blanket as a template. Trace around it with chalk, adding a ½-inch seam allowance. Align the back seam with the blanket’s center. Position sleeves far apart to preserve a wide back panel. Keep the original fringe along the bottom and cuffs.
✅ Match front and back edges to avoid a center back seam.
Cut and Sew the Body
Pin pieces before cutting with sharp fabric scissors. Use a heavy-duty sewing machine with a walking foot to handle thick layers. Sew shoulder and side seams with a 3-4mm straight stitch. Follow with zigzag stitching on raw edges to prevent fraying. Tuck fringe under or trim slightly to keep it out of seams.
⚠️ Test stitch settings on a scrap piece first. Thick wool may require hand-sewing with an upholstery needle.
Build a Structured Collar
Cut a 5-inch by 22-27-inch strip from the center back of the blanket to form the collar. Hem one long edge. Attach to the neckline with right side of collar to wrong side of fabric. Flip collar over and press to enclose the seam.
✅ Gently pull while pinning to distribute fabric evenly across the collar.
Add Pockets with Fringe
Cut two 6-inch by 7-inch rectangles from leftover fabric. Attach to the front with fringe facing down. Reinforce corners by looping thread through multiple times and tying off securely. Optional additions include embroidering initials or adding piping for extra flair.
Sew a Hoodie from a Knitted Blanket
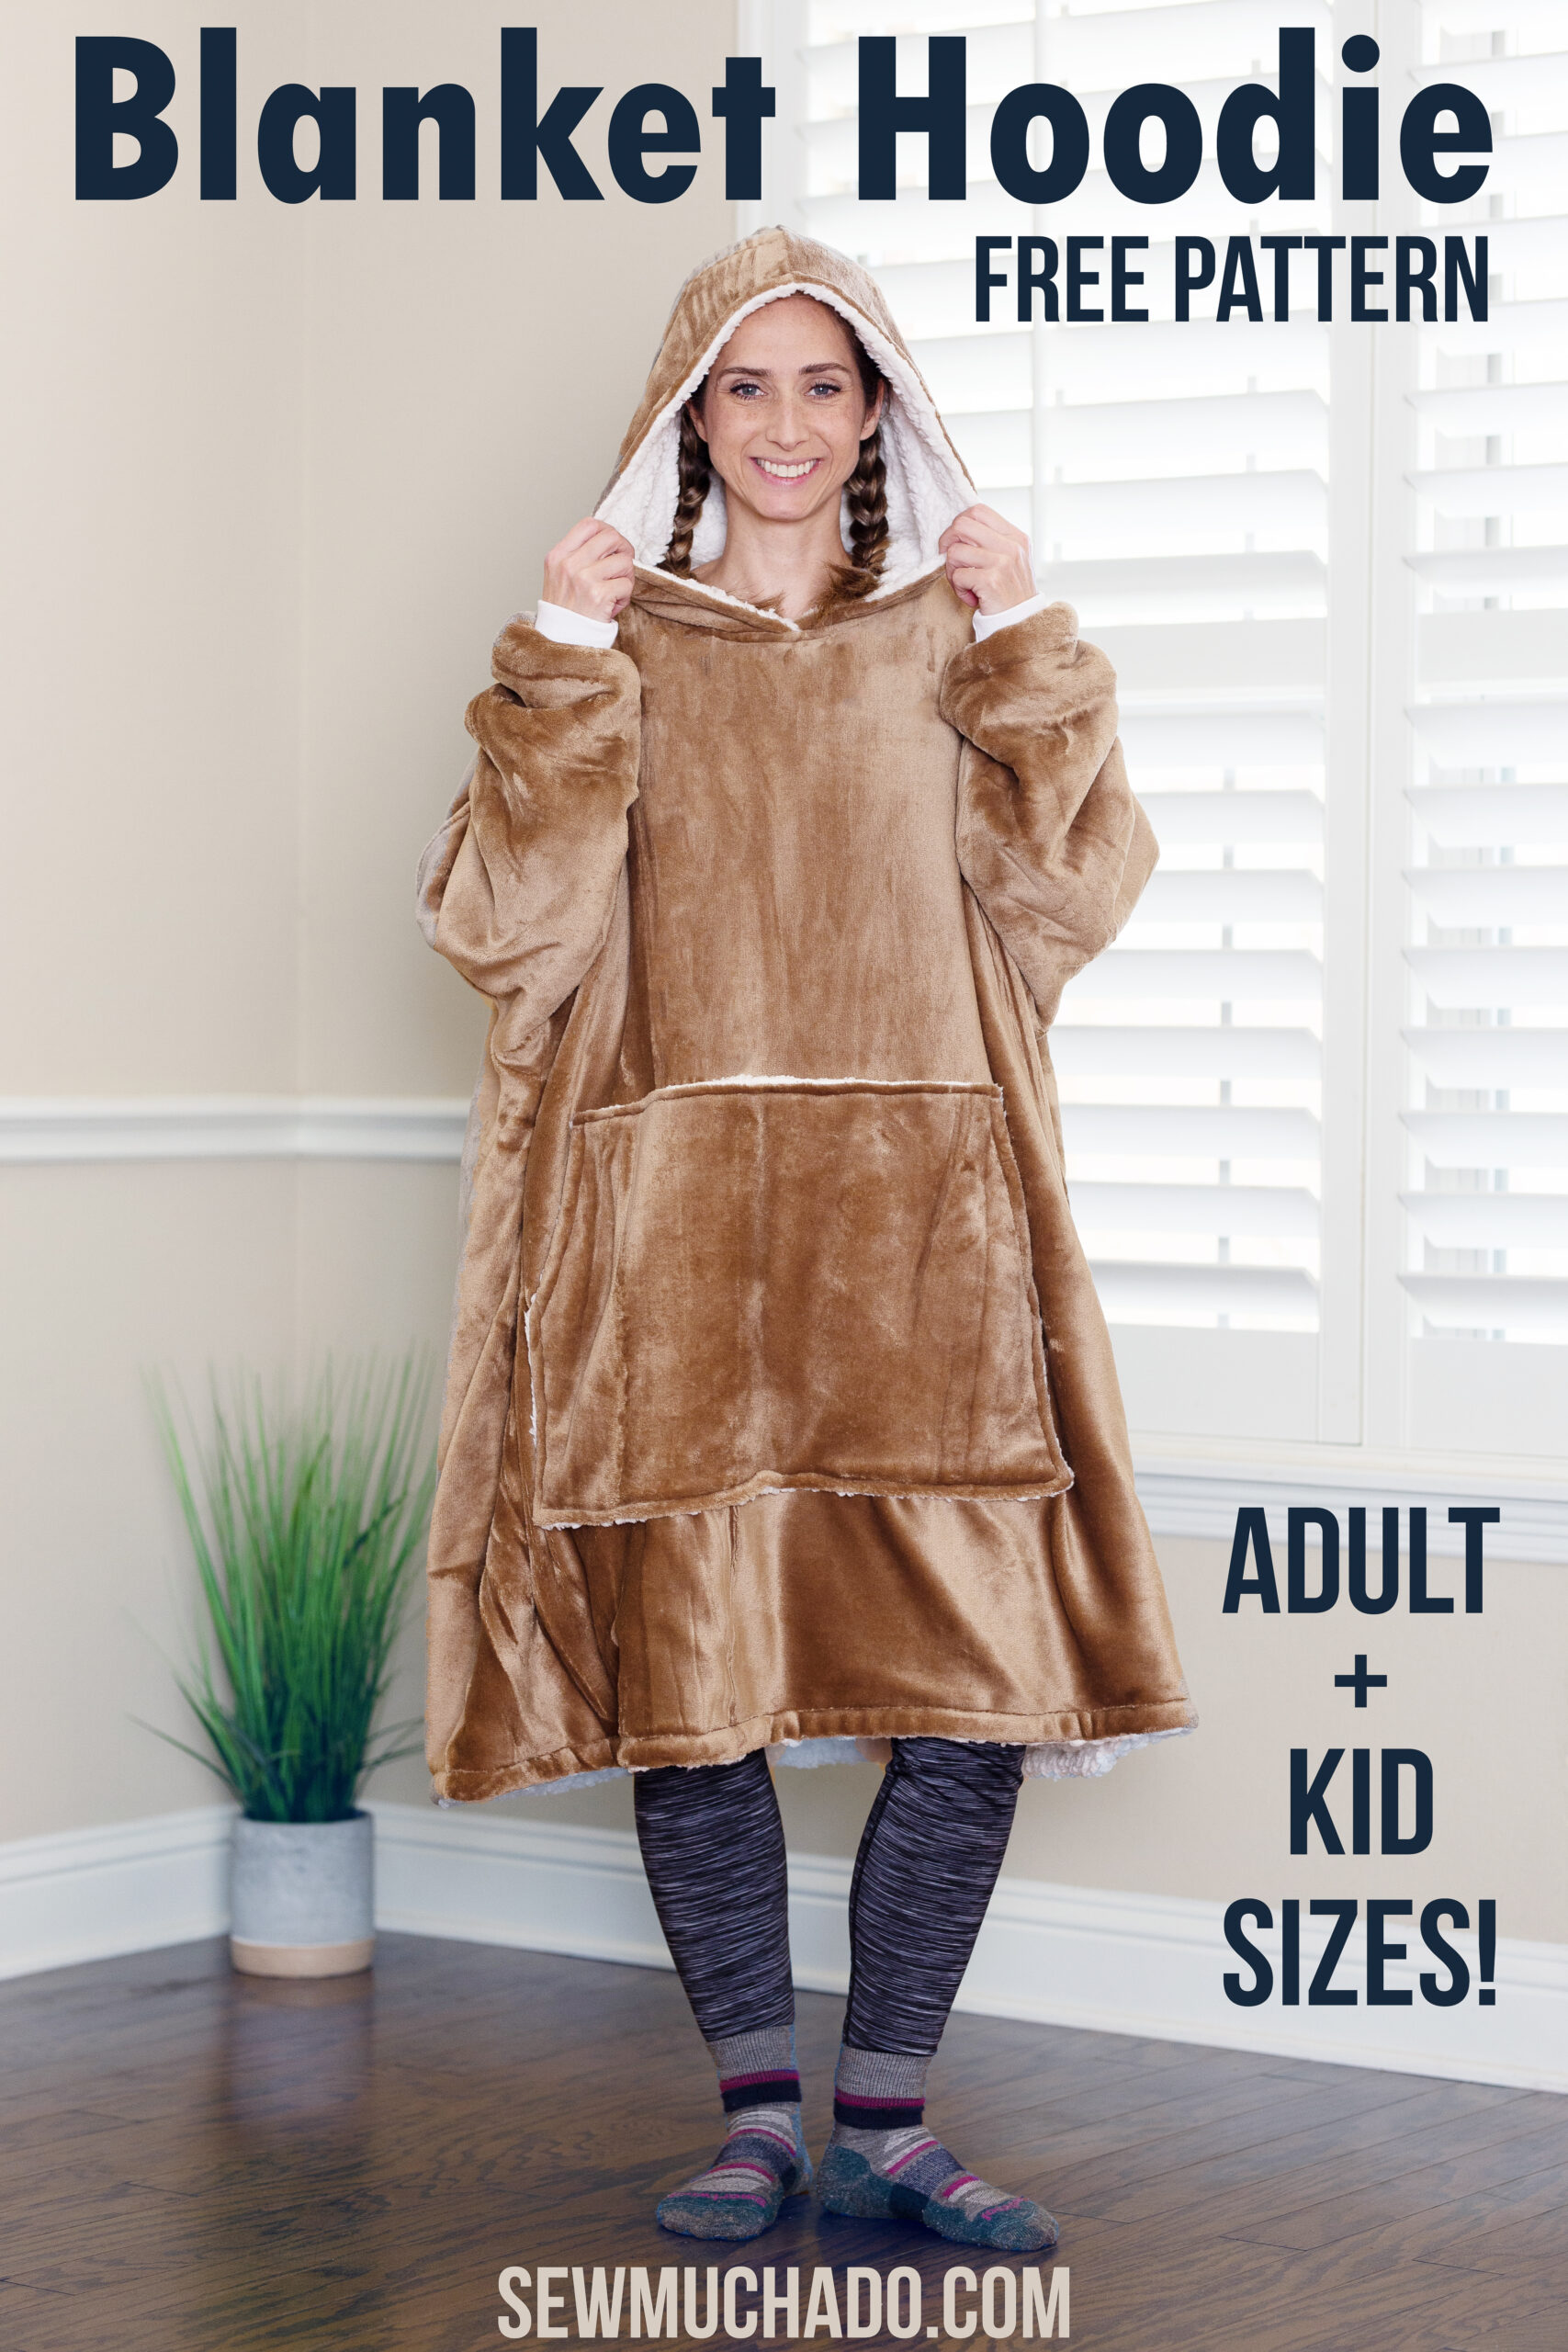
Make a custom-fit hoodie using a single knitted or fleece blanket. This method is beginner-friendly and great for personalizing with logos or patterns.
Trace Your Hoodie Template
Fold your favorite well-fitting hoodie and blanket in half vertically. Align the hoodie back seam with the blanket’s fold. Trace the bodice with ½ to 1-inch seam allowance. Plan design placement (hearts, birds, logos) intentionally. Use chalk for temporary marks and Sharpie only when confident.
✅ Lightweight, soft blankets work best—thick ones resist shaping and are difficult to sew.
Cut and Assemble the Body
Cut two identical pieces (front and back) from the blanket. Flip one to ensure symmetry. Sew shoulder and side seams, leaving armholes and neckline open. The result is a loose vest shape ready for sleeves and hood.
✅ Unfold so right sides face outward before sewing.
Attach Sleeves Without Bulk
Cut two sleeve pieces from the blanket. Sew along the sides, leaving top and bottom open. Turn sleeves right side out. Insert wrist end into armpit opening and pull through. Align sleeve shoulder with bodice shoulder. Sew around armhole, joining only two layers (not all four).
✅ This technique avoids bulky seams and ensures smooth movement.
Add the Hood and Pocket
For the hood, cut a square or rectangle with one corner rounded. Fold sides toward center and sew the back edge. Attach to neckline, centering with back seam. For the pocket, cut a rectangle and leave the top open. Sew bottom and sides, then attach to front at desired height.
💡 First hood attempts may fail—use a softer blanket on your second try.
Convert a Sweatshirt Blanket into a Sweater
Turn a patchwork sweatshirt blanket into a wearable sweater. This method is ideal for memory projects using old hoodies or team jerseys.
Disassemble and Cut Sweatshirts
Use 12 panels from six old sweatshirts. Pre-wash all pieces to prevent shrinkage. Cut up side and shoulder seams. Remove pockets with a seam ripper. Cut 15½-inch squares, centering on logos or designs.
✅ Use a rotary cutter and quilt ruler for precision.
Arrange and Sew the Patchwork
Lay out squares in four rows of three. Adjust for color balance and visual flow. Sew rows with ¼-inch seam allowance. Press seams gently with a cloth to avoid melting prints.
💡 Embrace “wonky” seams—they add charm and character to the finished piece.
Attach Backing and Shape Corners
Pin the patchwork top to two yards of sweatshirt fleece, right sides together. Sew around edges with ½-inch seam allowance, leaving a 12-inch opening. Fold each corner diagonally. Draw a line about 3-4 inches from the tip. Sew along the line to create boxed corners. Trim excess fabric.
Final size should be approximately 52 by 77 inches.
Modify for Wearability
Turn the blanket right side out through the opening. Pin the opening closed and topstitch around the perimeter. Now adapt it into a sweater by adding armholes (fold vertically, mark U-shape near top corners, cut and finish with bias tape), creating a neck opening (cut U or circle in center top, bind with stretch fabric), attaching sleeves (cut rectangles from leftover sweatshirts, set in using standard sleeve technique), and adding closure (sew buttons or snaps at shoulders, or install a zipper).
🔄 Pro Tip: Combine this patchwork front with a hoodie structure from Method 3 for a unique hybrid design.
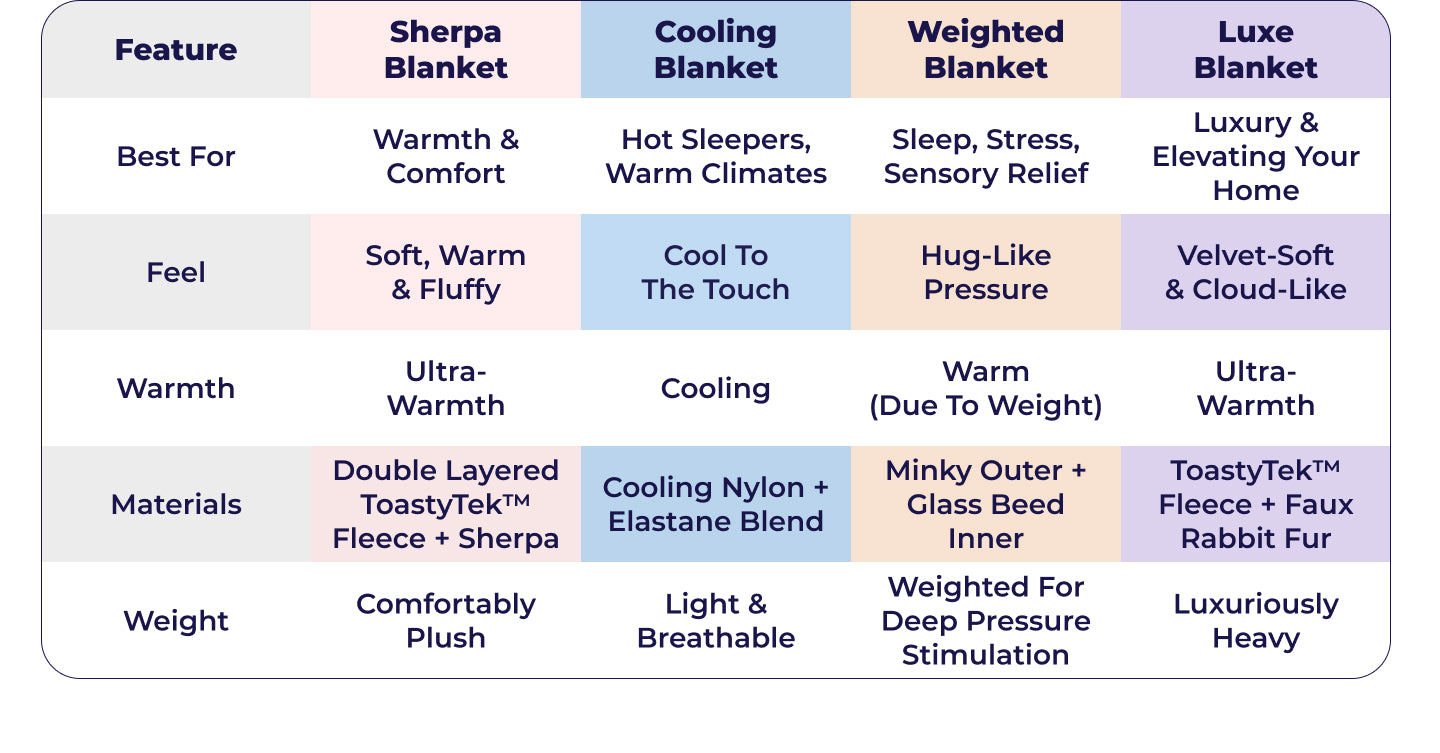
Compare All 4 Methods
| Feature | Knitted Sweater | Blanket-to-Cardigan | Blanket-to-Hoodie | Sweatshirt Blanket |
|---|---|---|---|---|
| Best For | Knitters, slow crafters | Vintage lovers, sewers | DIY hoodie fans | Memory gifts |
| Skill Level | Beginner | Intermediate | Moderate | Easy to Moderate |
| Time Required | 20-30 hours | 3-6 hours | 4-6 hours | 6-8 hours |
| Cost | $60-$80 | $10-$30 | $20-$40 | $10-$30 |
| Sustainability | Moderate | High | High | Very High |
| Wearability | Indoor, loungewear | Light outdoor | Outerwear | Poncho-style |
| Customization | Full control | Limited by blanket | High | Very high |
Pro Tips for Success
Choose the Right Fabric
Select soft, flexible fabrics that drape better than stiff ones. Pre-wash all materials to avoid shrinkage. For directional prints, plan layout before cutting to ensure logos and patterns face the right direction.
Use the Correct Tools
A walking foot prevents puckering on thick or stretchy fabric. Use a heavy-duty needle for wool or multiple layers. A ballpoint needle works best for knits and fleece. US 19 (15mm) circular needles are essential for knitting large pieces.
Prevent Common Mistakes
Stockinette curls—balance it with seed stitch borders. Fraying edges need zigzag stitch or binding. Fringe in seams—fold under or trim slightly before sewing. Buttons too loose—use larger buttons or adjust placement.
Customize Your Design
Add embroidery, appliqué, or trim for extra personality. Try asymmetrical buttoning or reversible styles. Dye the fringe or embellish pockets for unique flair.
Care and Longevity
Washing Tips
The knitted version should be hand washed cold and laid flat to dry. Wool cardigans often require dry cleaning or hand washing—check the label. Sweatshirt blanket versions are machine washable on cold, gentle cycle. Never wring or twist any blanket sweater.
Storage Advice
Fold instead of hanging to prevent stretching. Store in a breathable cotton bag. Use cedar blocks or lavender sachets to deter moths.
Repair and Reinforce
Re-sew loose seams immediately to prevent further damage. Back buttons with patches to prevent tearing. Mend holes with duplicate stitch for knits or fabric patch for sewn versions.
Key Takeaways for Making a Blanket Sweater
Four main methods exist for how to make a blanket sweater, each catering to different skill levels and preferences. Knitting offers full creative control over color, size, and texture, though it requires the most time investment. Sewing methods (turning a blanket into a cardigan or hoodie) promote sustainability through upcycling and typically take less time. Lightweight, soft fabrics work best—avoid overly thick or stiff materials that resist shaping.
Use the right tools for each method: walking foot and heavy-duty needles for sewing, US 19 circular needles for knitting. Add functional details like buttons, pockets, hoods, and collars to enhance wearability. Embrace imperfections—stretch, drape, and “wonky” seams add charm to handmade pieces.
All methods support complete personalization, making blanket sweaters ideal for gifts, memory projects, or statement fashion pieces. Start today by choosing the method that matches your skills and style, then grab your materials and turn comfort into fashion.
Frequently Asked Questions About Making a Blanket Sweater
How long does it take to make a blanket sweater?
Time varies by method. Knitting from scratch takes 20-30 hours. Converting a vintage blanket into a cardigan takes 3-6 hours. Sewing a hoodie from a blanket takes 4-6 hours. Making a sweatshirt patchwork blanket sweater takes 6-8 hours.
What materials do I need to make a blanket sweater?
Materials depend on your chosen method. Knitting requires bulky yarn and large circular needles. Sewing methods need a blanket or old sweatshirts, a sewing machine, and basic supplies like scissors, pins, and a walking foot.
Can beginners make a blanket sweater?
Yes, all four methods are beginner-friendly. Knitting requires basic knit and purl skills. Sewing methods need basic machine sewing experience. The sweatshirt patchwork method is the easiest and works well for complete beginners.
How do I care for my blanket sweater?
Care depends on materials. Hand wash knitted versions cold and lay flat to dry. Check wool cardigan labels—often dry clean only. Machine wash sweatshirt versions on cold, gentle cycle. Never wring or twist. Store folded in a breathable bag with cedar or lavender to prevent moth damage.
Can I customize my blanket sweater design?
Absolutely. All methods support extensive customization. Add embroidery, appliqué, or contrasting trim. Try asymmetrical buttoning or reversible styles. Embellish pockets or dye the fringe. The patchwork method offers the highest customization with 12 panels for unique color and design combinations.
Is making a blanket sweater sustainable?
Yes, especially the upcycling methods. Converting a vintage blanket or old sweatshirts into a wearable piece keeps materials out of landfills. Even knitting with new yarn creates a long-lasting garment that replaces disposable fast fashion.

