
Nothing beats the cozy, grounded feel of a handmade denim blanket, sturdy and full of character, crafted from something you already own. Transforming worn jeans into a durable, personalized quilt is creative and sustainable, turning textile waste into a functional heirloom. Whether you are a beginner sewer or a seasoned crafter, this guide walks you through every step of making a denim blanket from upcycled jeans.
You will learn how to cut, arrange, sew, and finish a quilt that is warm, stylish, and built to last. By the end, you will have a beautiful blanket perfect for picnics, beds, or gifting.
Collect and Prepare Old Jeans for Your Denim Blanket
Sort Jeans by Color and Condition
Gather 15 to 20 pairs of jeans depending on your desired blanket size. Thrift stores, garage sales, or family donations offer affordable sources, often just $1 per pair. Wash them first to soften the fabric and remove dirt. Sort into three piles: dark, medium, and light washes for visual balance. Avoid jeans with large holes, stretched knees, or thinning fabric, but do not discard them entirely. Cut around damage to salvage usable sections.
Save Unique Design Elements
Keep original details like back pockets, brand labels, embroidery, or stitching. These add charm and storytelling to your blanket. Pockets can be centered in squares or lined up intentionally for symmetry. Store special pieces separately so they are easy to place during layout.
Cut Uniform Denim Squares for Patchwork
Open Legs and Create a Cutting Template
Lay each leg flat by cutting along inner and outer seams. Use a rigid template made from cereal box cardboard or poster board cut to 8 inches by 8 inches. This ensures consistency. Place the template on the thickest part of the leg, avoiding knees and ankles, and trace around it with a fabric pen. Cut with sharp scissors or a rotary cutter for clean edges.
Maximize Fabric From Each Pair of Jeans
One pair of jeans yields about 6 to 8 usable squares. Butt templates edge to edge to minimize waste. Stack every 10 squares with a labeled scrap paper to track progress without recounting. Aim for 30 to 40 squares for a throw, 108 squares for full size, and 132 squares for queen size.
Plan Your Patchwork Layout
Arrange Squares on a Large Surface
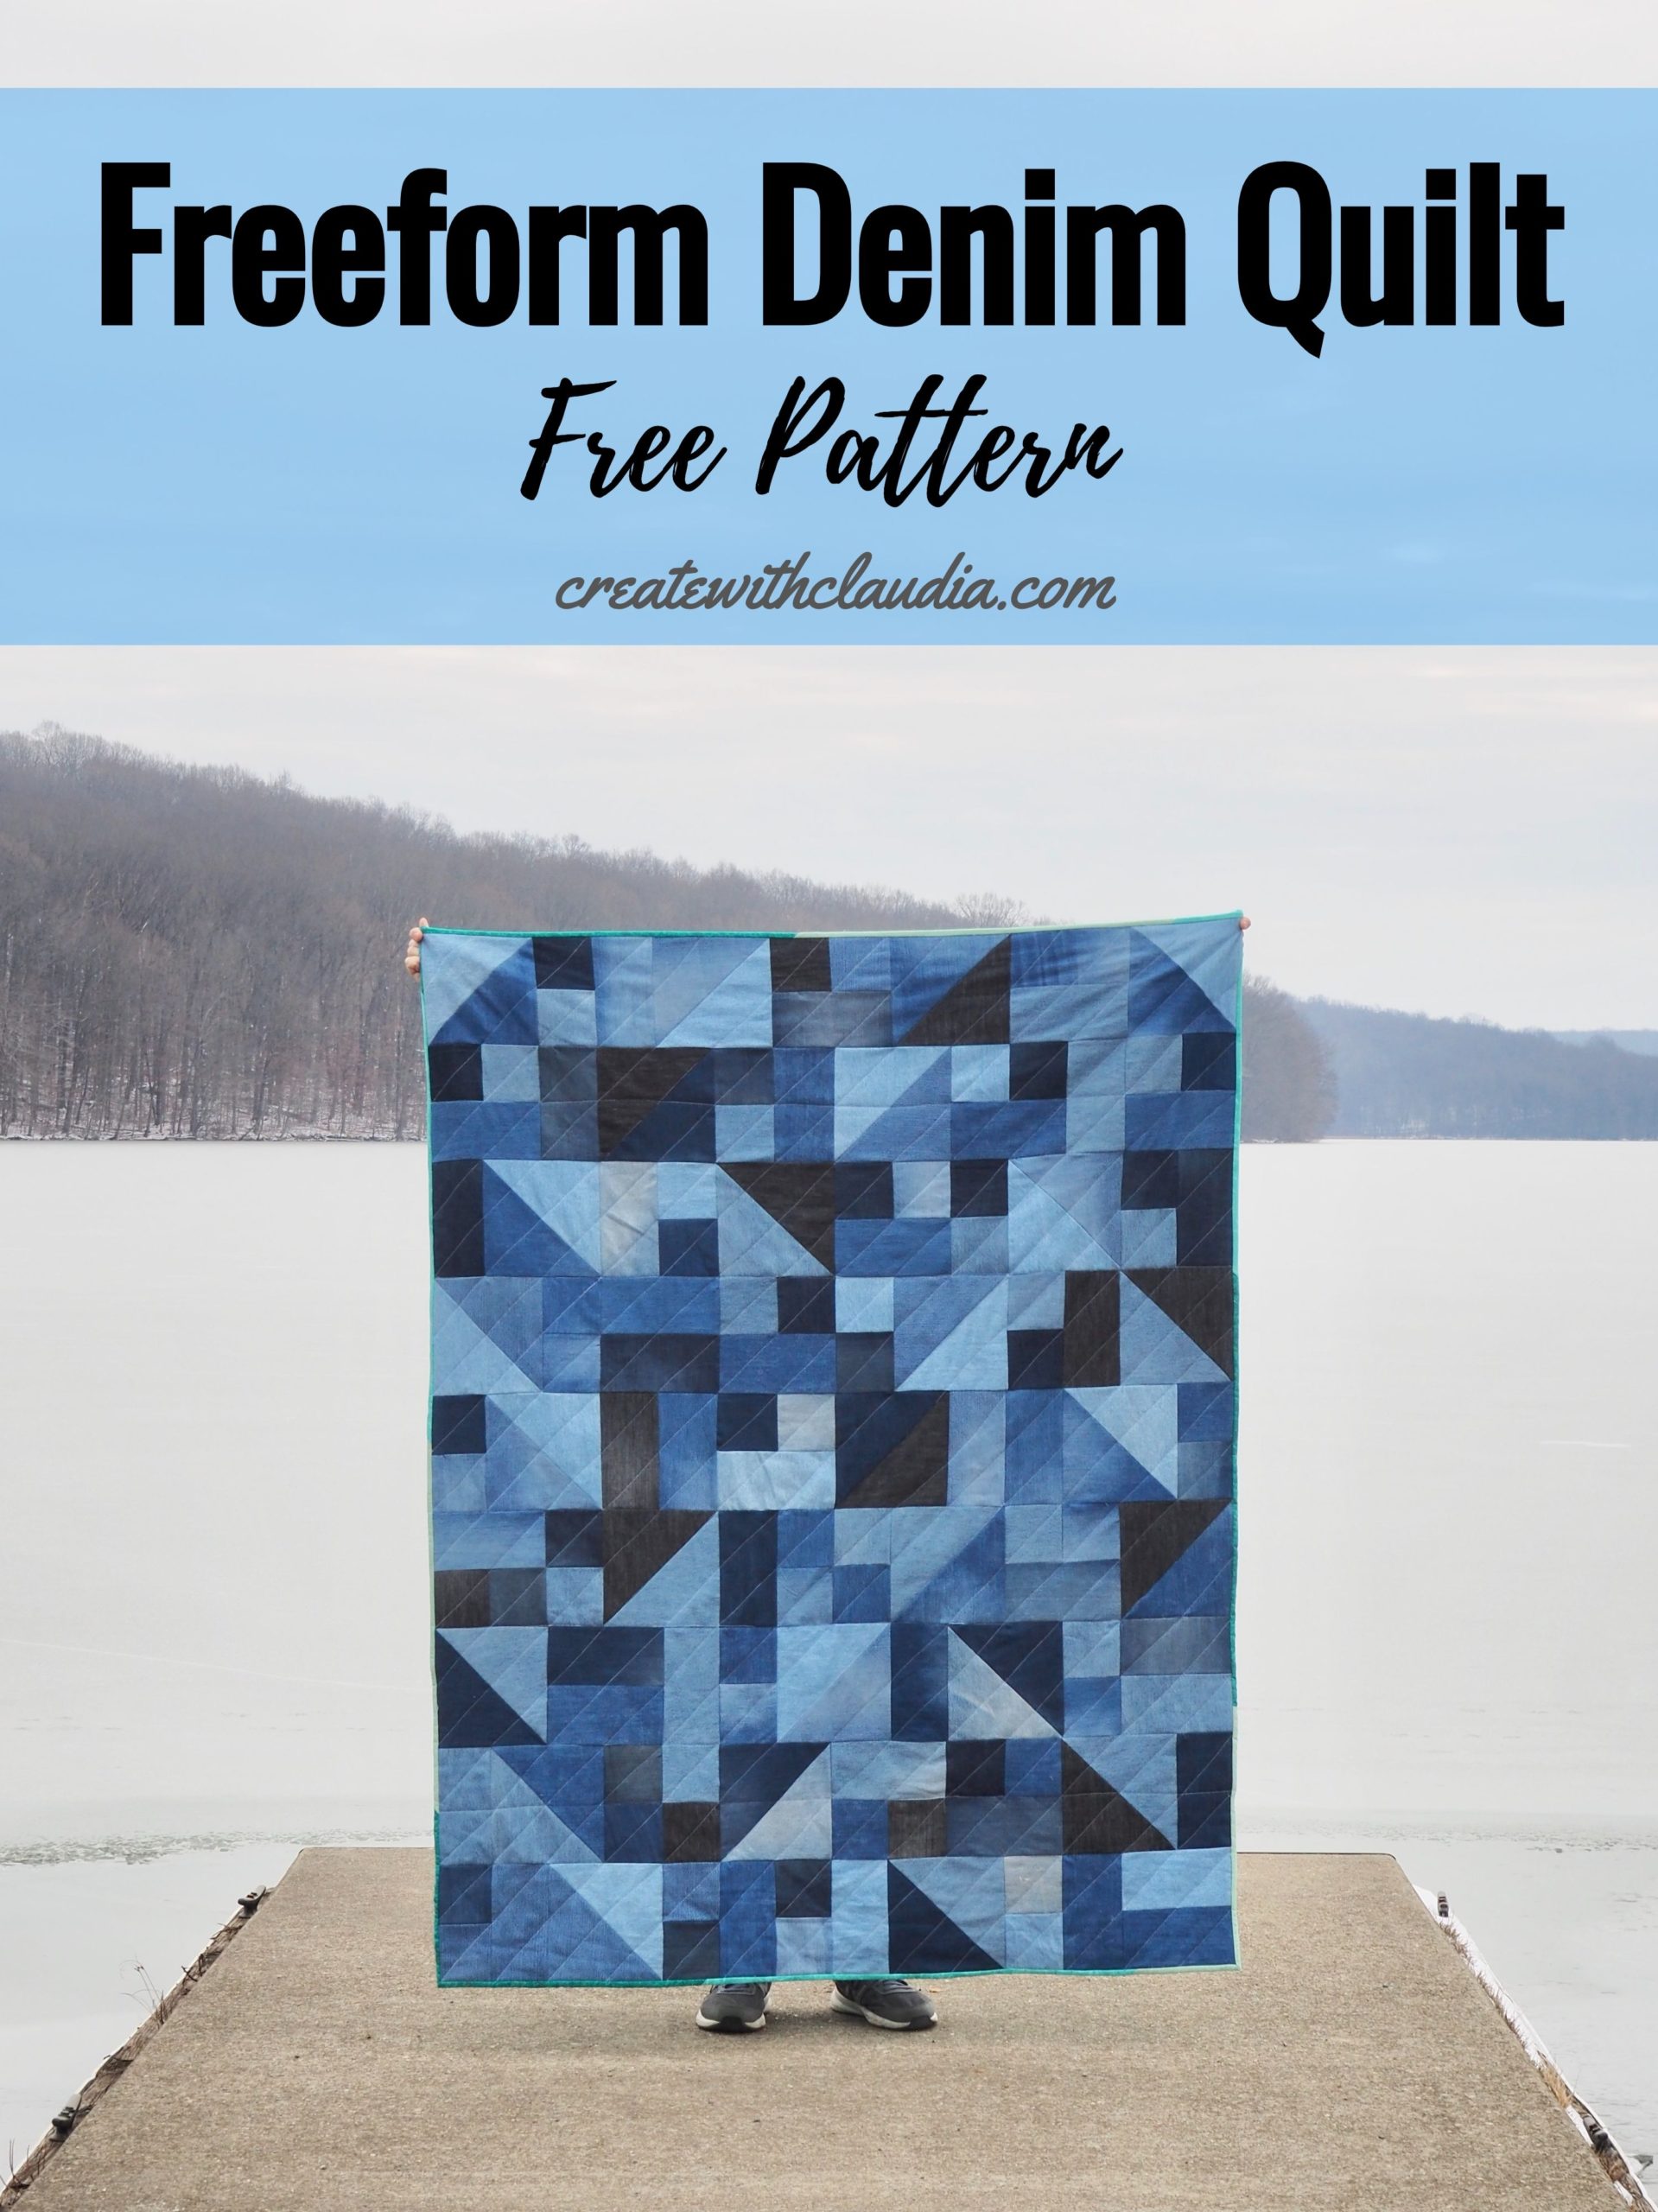
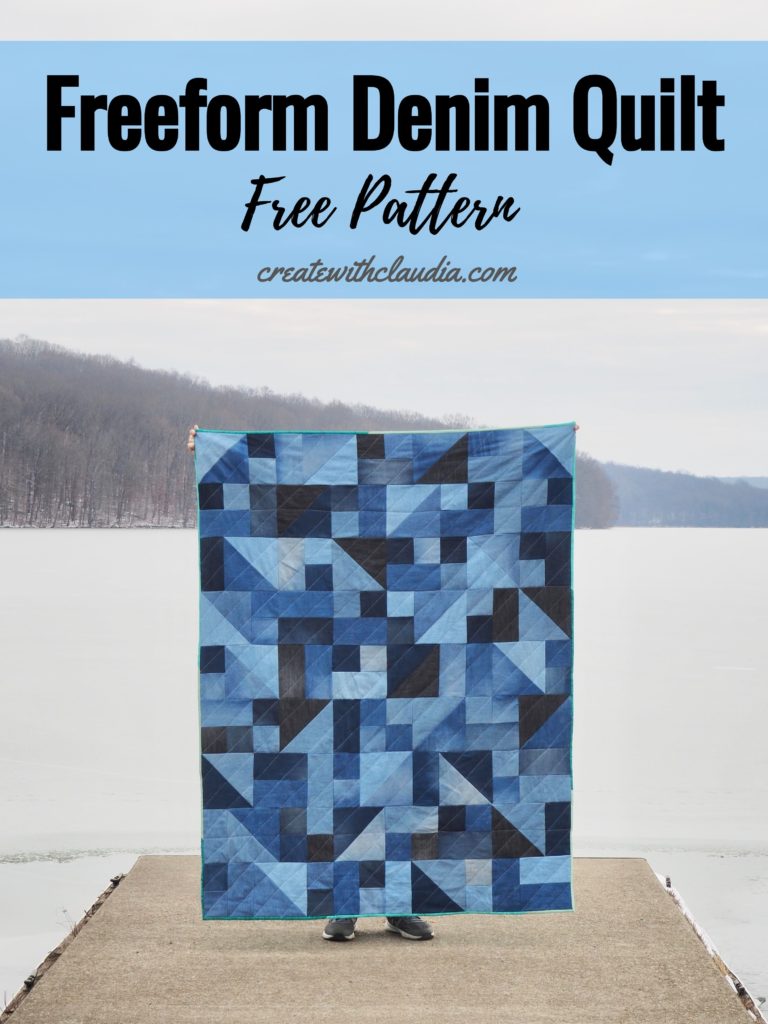
Lay all squares on a large surface in the final grid. Distribute dark, medium, and light shades evenly. Try patterns like ombre, checkerboard, or random mix to celebrate natural variation. Avoid clustering all pockets or distressed areas in one corner. Take a photo with your phone as a reference before sewing.
Label Rows to Maintain Design
Pin sticky notes to each completed row so you can reconstruct the layout later. This prevents confusion when joining rows and keeps your design intact.
Sew Squares Into Rows
Use the Correct Seam Allowance
Place two squares right sides together and sew along one edge using a 3/8 inch seam allowance, wider than standard to reduce bulk. Backstitch at start and end for durability. Use a denim needle and heavy-duty polyester thread to handle thick fabric.
Press Seams for a Flat Finish
After sewing each row, press seams open with an iron. This reduces bulk and creates crisp lines. Repeat until all rows are complete, typically 9 to 11 squares per row depending on size.
Join Rows with Interlocked Seams
Nest Seams for Smooth Alignment
Press adjacent rows seams in opposite directions. When placed right sides together, they will interlock like puzzle pieces. Pin at seam intersections to prevent shifting. Sew with 3/8 inch allowance and press open again.
Check for Squareness
Measure diagonally across the quilt top. Both measurements should match. If not, gently stretch or adjust while pressing. A misaligned top leads to uneven edges later.
Choose and Prepare Backing Fabric
Select Flannel or Fleece
Pick a soft backing that contrasts texture with denim. A flannel sheet from a queen-sized set costs $30 to $40 and works beautifully. Fleece provides warmth and plushness. Prewash backing to prevent shrinkage and iron smooth before use.
Cut and Align Backing
Trim backing to be 1 to 2 inches larger than the quilt top on all sides. This allows for adjustments during basting.
Layer and Baste the Quilt Sandwich
Assemble the Three Layers
Lay backing right side down on a clean floor and smooth out wrinkles. Add batting if extra warmth is desired, though many skip this step since denim is naturally warm and heavy. Place quilt top right side up on top and align edges.
Baste Layers to Prevent Shifting
Use safety pins every 4 to 6 inches, spray baste for quick hold, or hand baste with long stitches. Work from center outward to avoid puckering.
Quilting Options: Machine vs Hand-Tying
Machine Quilting with Straight Lines
For straight-line quilting, apply masking tape diagonally or in a grid pattern to guide your machine. Use a walking foot and quilting gloves for better grip on thick layers. Set stitch length to 3.0 to 4.0 millimeters for durability.
Hand-Tying for a Rustic Finish
Thread a yarn needle with embroidery floss or yarn. Tie knots at regular intervals, one at each corner and center of every square. Use matching or contrasting thread for visual effect. Tying takes 2 to 3 hours with two people and adds cozy texture.
Finish Edges: Binding vs Enclosed
Create an Enclosed Edge Without Binding
After quilting, mark a straight rectangle with string and tape. Trim excess backing and batting with a rotary cutter. Fold raw edges inward 1/2 inch, then fold again 1/2 inch over the denim top to enclose. Pin and topstitch around all four sides using a denim needle.
Add Traditional Binding
Cut 2.5 inch wide strips from flannel or cotton and join diagonally to avoid bulk. Press in half lengthwise. Sew raw edges to quilt front with 1/4 inch seam. Wrap binding to back and hand-stitch in place for invisible finish.
Add Personalization and Final Touches
Square Up and Label Your Work
Check edges with a large ruler and trim uneven corners for a clean rectangular shape. Add a custom fabric tag with name, date of completion, or use original jeans tags as design accents.
Wash Gently to Preserve Color
Spot clean when possible. For full wash, use cold water, gentle cycle, and mild detergent only. Avoid bleach. Tumble dry low or air dry to preserve indigo dye and prevent fraying.
Cost Analysis and Value
Compare DIY to Store-Bought
The total cost for a DIY denim blanket ranges from $60 to $90, including 18 pairs of jeans, a flannel sheet, and thread. Retail equivalents cost $150 to $300 or more. You save over $100 while creating a one-of-a-kind piece.
Environmental Impact
Each blanket keeps approximately 20 jeans out of landfills. Denim takes over 200 years to decompose, making upcycling a powerful eco-friendly choice.
Troubleshoot Common Issues
Fix Fabric Feeding Problems
If fabric will not feed under the needle, lower presser foot pressure and use a walking foot. Wear grippy quilting gloves to push fabric smoothly through the machine.
Prevent Seam Puckering
Check thread tension and lower top tension for thick layers. Use a fresh denim needle and quality thread. Press seams open between each row to reduce bulk.
Customize Your Design
Try a Strip-Style Quilt
Cut 6 inch wide strips lengthwise from denim legs. Sew into rows, alternating colors. Join rows so vertical seams do not align. Creates a modern, flowing look.
Include Functional Pockets
Place back pockets centered in squares. Use them to store remotes or glasses. This adds charm and utility to your blanket.
Time-Saving Tips for Faster Completion
Prep in Batches
Cut all jeans first, then organize by color. Sew four rows at a time and press as you go.
Use Efficient Tools
A rotary cutter with self-healing mat and ruler produces faster, straighter cuts. Spray baste is quicker than pinning. Label stacks to avoid recounting.
Frequently Asked Questions About Making a Denim Blanket
How Many Pairs of Jeans Do I Need for a Full-Size Blanket?
You need approximately 15 to 18 pairs of jeans for a full-size blanket. Each pair yields about 6 to 8 usable squares, giving you enough fabric for a 72 by 84 inch quilt with 108 squares.
Do I Need to Wash Jeans Before Cutting Them?
Yes, washing jeans before cutting is recommended. It removes dirt, softens the fabric, and prevents shrinkage later. Prewashed denim is easier to cut and sew accurately.
Can I Skip Batting in My Denim Blanket?
Yes, you can skip batting. Denim is naturally warm and heavy, providing sufficient insulation without additional batting. The flannel or fleece backing adds enough softness for most uses.
What Type of Needle Should I Use for Sewing Denim?
Use a denim needle sized 90/14 or 100/16. These needles are designed to penetrate thick fabric without breaking. Replace the needle after every few projects for best results.
How Do I Prevent Denim From Fraying After Washing?
To prevent fraying, use a 3/8 inch seam allowance and backstitch at the start and end of each seam. When using an enclosed edge finish, clip small slits along raw edges before folding. Avoid over-washing to preserve the indigo dye.
Can I Use a Regular Sewing Machine for This Project?
Yes, a regular sewing machine works fine. Use a denim needle, heavy-duty thread, and a walking foot. Lower presser foot pressure if needed and sew slowly through thick seams.
Key Takeaways for Making Your Denim Blanket
A denim blanket is more than a craft project. It is a statement of sustainability, creativity, and care. With durable materials, thoughtful design, and simple sewing techniques, you can make a cozy, long-lasting quilt that tells a story with every stitch.
The most important steps are sorting jeans by color, cutting uniform squares, pressing seams open, and basting layers securely. Whether you choose machine quilting or hand tying, flannel backing or fleece, your finished blanket will be a cherished keepsake for years to come. Start collecting your old jeans today and transform them into something extraordinary.

