
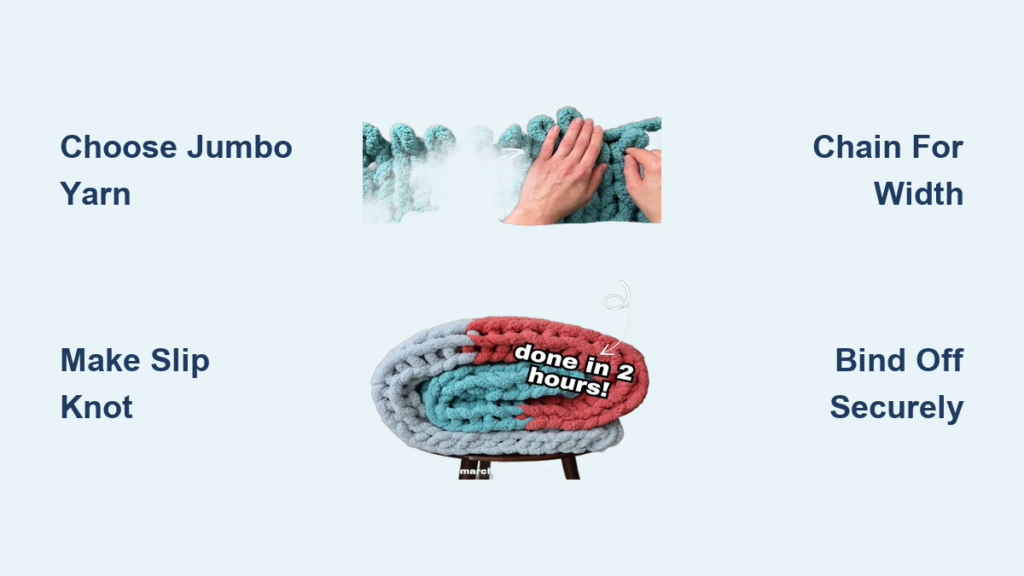
Imagine curling up on the couch with a soft, chunky blanket you made yourself without needles or any prior experience. Finger knitting transforms thick, plush yarn into a cozy throw in just a few hours, using only your hands as your tools. This beginner-friendly craft is perfect for anyone looking for a relaxing, screen-free creative project. In this guide, you will learn exactly how to make a finger knitting blanket from start to finish.
You will discover how to choose the right jumbo chenille yarn, create a foundation chain, build rows continuously, join new yarn seamlessly, and finish with professional-looking results. Whether you want a 3×4 ft throw or a full-sized 4×6 ft blanket, these step-by-step instructions will help you create a handmade masterpiece that is machine-washable and wonderfully warm.
Select the Best Jumbo Chenille Yarn for Finger Knitting

The yarn you choose determines how fast your project goes and how plush your finished blanket feels. Jumbo chenille yarn glides smoothly through loops and creates that irresistible squishy texture everyone loves.
Pick Jumbo Weight Size 7 Chenille
Use jumbo weight (size 7) chenille yarn for fast results and a plush finish. The best options include Bernat Blanket Big, Balapet, or Bernat Plush Big. These thick, soft yarns pull easily through loops and are ideal for hand-based crafting.
Balapet yarn is often reported as softer than Bernat with a smoother texture. Bernat Plush Big has a fiber-filled knit tube construction that gives extra volume but requires a yarn needle for secure end-weaving.
Match Yarn Quantity to Blanket Size
For a 3×4 ft throw, you need 5 skeins (32 yards each). A 4×6 ft blanket requires 6 to 8 skeins depending on the brand. Balapet may need more skeins due to slight differences in yardage. Always buy one extra ball to cover mistakes or length adjustments.
Pro tip: Jumbo chenille varies slightly in thickness, which adds subtle visual depth to your blanket rather than creating flaws.
Prepare Your Workspace for Finger Knitting Success
Having the right workspace makes the process smoother and prevents frustration as your blanket grows.
Use a Large Flat Surface
Work on a kitchen table, bed, or floor where you can spread out comfortably. A 4-foot-wide blanket grows quickly, so space matters. Drape the growing fabric over the edge of your table. The weight helps maintain tension and keeps the blanket from sliding around.
Gather Only What You Need
You only need three items to start. Jumbo yarn provides the material, scissors cut the yarn when needed, and your hands do all the work. A yarn needle is optional but helpful, especially for tubular yarns like Bernat Plush Big.
Create the Perfect Slip Knot to Begin
The slip knot is your starting point. Getting it right sets the size for every loop that follows.
Form the First Loop
Form a loop with the yarn tail and pull the working end through to create a slip knot. Slide your fingers into the loop and tighten gently. Adjust the loop to 1.5 to 2 inches. This establishes the size for all future loops.
Leave a 6 to 8 inch tail at the start. This will be woven in later to secure the beginning of your blanket.
Key point: The slip knot counts as the first chain in your foundation.
Form Your Foundation Chain to Set Blanket Width
The foundation chain determines how wide your blanket will be. Getting this right from the start saves time later.
Chain to Your Desired Width
Pull the working yarn through the slip knot to create the next loop. Place your fingers inside and repeat. Keep loops 2 to 3 inches tall and consistent throughout. Pull too tight and the blanket becomes stiff. Pull too loose and it sags.
Chain until you reach your blanket width. Twenty-four chains create approximately 3 ft wide. Thirty chains create approximately 4 ft wide. Forty-two to forty-three chains create 5 ft or wider. Count as you go. The slip knot is chain number one.
Warning: Avoid over-tightening. Keep tension relaxed for a flexible edge.
Master the First Row of Finger Knitting
The first row transforms your chain into actual knitting. This is where the fabric truly begins.
Pull Loops From Right to Left
Lay the working yarn across the top of your foundation chain. Start from the last chain made (far right) and work leftward toward the beginning.
Use your fingers to grab the yarn and pull a new loop through each chain. Match the 2-inch height of your foundation. Hold the previous loop steady with your non-dominant hand to prevent shrinking.
After finishing, you will have the same number of loops as chains, for example, 30 loops for a 30-chain foundation.
Visual cue: Keep the horizontal bars straight. Twisted bars create a warped fabric.
Build Rows Continuously for Blanket Length
Once the first row is complete, you simply repeat the motion to build length. This is the rhythm that makes finger knitting so meditative.
Alternate Direction With Each Row
After finishing a row, rotate the yarn to the opposite side. Lay it across the top of the current loops. Now pull a new loop through each from left to right.
Repeat this back-and-forth motion. Row one goes right to left. Row two goes left to right. Row three goes right to left again. This creates a garter stitch texture that is bumpy and reversible.
Keep Loop Count Consistent
Always maintain the same number of loops throughout your project. If you end a row with 29 instead of 30, you dropped a stitch somewhere. Check your count every few rows to catch mistakes early.
Use 3 to 4 fingers as a gauge to maintain loop height. Let the blanket drape over the table edge. Gravity helps control tension naturally.
Pro tip: Untwist the yarn every 5 to 6 rows. Twisted strands lead to uneven fabric.
Manage Growing Fabric Without Tangling
As your blanket lengthens, managing the fabric becomes essential. A few simple techniques keep everything under control.
Roll or Fold for Control
As your blanket lengthens, roll it like a scroll on the bed. This keeps the blanket close and prevents dragging. Fold it accordion-style on the table to reduce workspace clutter. Fold it twice to keep the working edge at hand level.
Bonus: The fabric stabilizes after 6 to 8 rows. Early flimsiness disappears as weight builds.
Join New Yarn Without Breaking Flow
Jumbo yarn runs out fast. Knowing how to join new skeins seamlessly keeps your project moving.
Knot It Securely
When you are near the end of a skein, tie a shoelace knot or square knot between the old and new yarn. Clip excess tails close to the knot. Resume knitting. For extra strength, tie loosely after 2 to 3 stitches on the next row, then tighten.
Try the Magic Knot
The magic knot is stronger and lies flatter. It fuses two ends with a compact join that will not slip. No trimming is needed. Watch a video tutorial to master this technique.
Fuse With a Lighter Advanced
This method works only for Bernat Blanket Big. Cut both ends cleanly and light the core (not surface fluff) of each. Press the burning cores together and hold 5 to 10 seconds to fuse. The result is a nearly invisible join. Use fire-safe surfaces and avoid synthetic yarns that may melt uncontrollably.
Always weave in ends after joining any new yarn.
Change Colors for Stripes and Patterns
Adding color changes transforms a simple blanket into a personalized creation.
Start New Color at Row End
For seamless transitions, pinch the yarn where it exits at the last stitch. Unravel the last loop while keeping the pinch. Tie or fuse the new color at the pinch point. Re-knit the last stitch with the new yarn. Continue the next row. This avoids gaps and creates clean color shifts.
Begin Stripes at Row Start
Want horizontal stripes? Simply start a new row with a different color. Tie a knot and trim later.
Popular patterns include solid (one color throughout), stripes (change every 5 to 10 rows), color blocks (large sections like 14 teal, 19 red, 23 gray), and marled (alternate skeins randomly).
Design tip: Use contrasting colors for border panels to add polish.
Join Panels for Wider Blankets
Some makers prefer knitting panels separately and joining them. This method offers more control over large projects.
Cast On With a Join
To start a new panel, find the corner loop on the cast-on edge of the previous panel. Pull a new loop through it with your working yarn. Now you have 6 loops: 5 cast-on plus 1 join. Pass the first stitch over the new loop, then move the new loop to your left hand. Knit down the row. This creates a natural ribbed seam between panels.
Seam Panels After Knitting
Lay two finished panels side by side. Align the downward bumps (frowns) with upward bumps (smiles). Thread a yarn needle and weave through matching ridges, keeping yarn behind. Pull snug and tie off. For invisible joins, search seamless garter stitch join tutorials.
Bind Off the Final Row Securely
Binding off closes your stitches and creates a finished edge that will not unravel.
Use the Chain Bind-Off
On the last row, lay the left loop over the right. Pull a new loop through both with the working yarn. Repeat across the row. When one loop remains, cut the yarn leaving a 7-inch tail. Pull the tail through and tighten.
Try the Knit Cast-Off
Knit two loops. Pull the first over the second. Repeat across. On the last loop, pull the tail through.
Tip: Make the final loop 1 inch larger to fit the tail comfortably.
Weave in All Ends for a Clean Finish
Finishing touches determine whether your blanket looks homemade or professional.
Secure Tails on the Back
Flip the blanket to the wrong side. Use fingers or a needle to weave each tail through 3 stitches on the back. For tubular yarns like Bernat Plush, strip away outer fluff first. Tie inner core strands and stitch with white thread to blend. Snug knots before trimming. Leave minimal tail visible.
Goal: No loose ends prevents unraveling and looks professional.
Customize Your Blanket Design
One of the best parts about finger knitting is making it your own.
Adjust Size Easily
Width changes by adjusting your foundation chain (24 to 43+ loops). Length changes by continuing to knit rows. Each row adds measurable length, so track your progress.
Explore Color Ideas
Monochrome creates one shade for an elegant modern look. Gradient creates light to dark for an ombre effect. Bold blocks use high-contrast sections for visual impact. Neutral mix uses gray, cream, and beige for minimalist style.
Pro tip: Use color-coded labels to track pattern changes.
Care for Your Finger Knitting Blanket
Your blanket is machine washable and built to last.
Wash and Dry Safely
Use cool or delicate cycle on your washing machine. Dry on low heat or air-dry flat. Avoid wringing or high heat, which preserves softness. No special care is needed. Safe for regular household use.
Enjoy the Texture
The fabric is plush, squishy, and warm. Natural thickness variations add depth. Reversible garter stitch works beautifully on both sides.
Note: Not recommended for baby sleep. The thickness can cause overheating. Use thinner yarn for infant-safe blankets.
Pro Tips to Speed Up Finger Knitting
These expert techniques help you work more efficiently.
Work Efficiently
Sit on a bed and roll the blanket as you go. Pause every 10 rows to check stitch count and untwist yarn. Count stitches regularly to prevent accidental increases. Use gravity by draping the blanket over the table edge for natural tension.
Avoid Common Mistakes
Too tight loops result from gripping too hard. Aim for 3-inch loops. Twisted yarn requires stopping every few rows to untwist. Uneven edges come from inconsistent turning motion. Loose ends need double-knotting and deep weaving.
Expert move: For a seamless look, master the magic knot or fusion join.
Compare Finger Knitting to Other Methods

Understanding how finger knitting stacks up helps you choose the right technique.
| Feature | Finger Knitting | Arm Knitting | Traditional Knitting |
|---|---|---|---|
| Tools | Hands only | Arms | Needles |
| Portability | Moderate | Low | High |
| Speed | 3-4 hrs for 4×6 ft | Fast | Slow |
| Fabric | Tight and polished | Loose and open | Customizable |
| Learning Curve | Very low | Low | Moderate |
| Break-Friendly | Yes | No | No |
| Yarn Efficiency | High | High | Varies |
Finger knitting offers a denser, more durable result than arm knitting with less bulk and better stitch control.
Finish and Use Your Finger Knitting Blanket
After binding off and weaving in ends, give your blanket a gentle shake. Let it rest flat for an hour to settle.
Best uses include throws for couch or bed, floor mats for baby play or reading, decor in living rooms or guest rooms, and personalized gifts with favorite colors.
Safety note: Do not use for infant sleep. The thickness can cause overheating.
Frequently Asked Questions About Finger Knitting Blankets
How long does it take to finger knit a blanket?
A 4×6 ft blanket takes approximately 3 to 4 hours to complete. Time varies based on consistent loop size and experience level.
What yarn is best for finger knitting blankets?
Jumbo weight (size 7) chenille yarn works best. Bernat Blanket Big, Balapet, and Bernat Plush Big are top recommendations for their softness and ease of use.
Can beginners finger knit a blanket?
Yes. Finger knitting has a very low learning curve and requires no needles or prior experience. The repetitive motion is easy to learn within minutes.
How do I prevent my finger knitting from looking uneven?
Keep loop size consistent (2 to 3 inches), untwist yarn regularly, and count stitches after each row. Maintaining steady tension is key.
Can I wash my finger knitting blanket?
Yes. Machine wash on cool or delicate cycle and dry on low heat or air-dry flat. Avoid high heat to preserve softness.
Is finger knitting safe for babies?
Finger knitting creates a thick, heat-retaining fabric that is not recommended for infant sleep. Use thinner yarn if making a baby blanket.
Key Takeaways for Making a Finger Knitting Blanket
You now know exactly how to make a finger knitting blanket from yarn selection to final finishing. Choose jumbo chenille yarn like Bernat Blanket Big or Balapet for the best results. Maintain consistent 2 to 3 inch loops throughout your foundation chain and every row. Join new yarn using a magic knot or square knot, and always weave in ends securely before trimming.
The process takes 3 to 4 hours for a 4×6 ft throw, making it a satisfying weekend project. Your finished blanket will be machine-washable, wonderfully warm, and full of handmade character. So grab your yarn, start that slip knot, and enjoy the simple rhythm of loop and pull. Your cozy masterpiece is only a few hundred rows away. Happy crafting.

